
Blog
I think every good website needs a blog: somewhere to keep ramblings that other people might be interested to read. Here you’ll find my thoughts on a random range of topics relating to all things Glassified. You can scroll through the posts below, or jump to a specific one using the menu on the left. Feel free to leave me comments if you like: they will be moderated, so there will be a delay before they appear on my website.
Hedgehogs
Hedgehogs. This is where it all started! I love hedgehogs; I’ve always loved hedgehogs; everybody knows I love hedgehogs. So naturally, the first piece of fused glass art I ever made (before I dreamed of owning a kiln) was a hedgehog.
My very first product was the rainbow hedgehog wall hanging / suncatcher, with a random selection of brightly coloured spines - no two are the same. Also available as a ‘monochrome’ variant, where the spines are all a single colour (take your pick!). Scroll down to see a gallery of the various hedgehoggy pieces I’ve made.
Several of my hedgehog pieces are available from my online store - there’s a whole category dedicated to them! I’m always happy to take commissions for bespoke pieces incorporating hedgehogs - see my Commissions page for details.
From time to time, I also team up with hedgehog charities and donate the profits from my hedgehog products to support their work.
- November and December 2022: HERBY (Hedgehog Emergency Rescue, Bingley, Yorkshire) - rainbow hedgehog wall hangings
- Hedgehog Awareness Week 2023: Prickles and Paws Hedgehog Rescue (Cornwall) - rainbow and Limited Edition blue hedgehog wall hangings
- December 2023: Cambridge Hedgehogs - rainbow hedgehog wall hangings
- July 2024: Prickles and Paws Hedgehog Rescue (Cornwall) - unique hedgehog necklaces in four designs (two Limited Edition)
- October 2024: Prickles and Paws Hedgehog Rescue (Cornwall) - hedgehog coasters
The Hedgehog Gallery
Click on any image to see a bigger version.
-
A necklace to go with my favourite dress
-
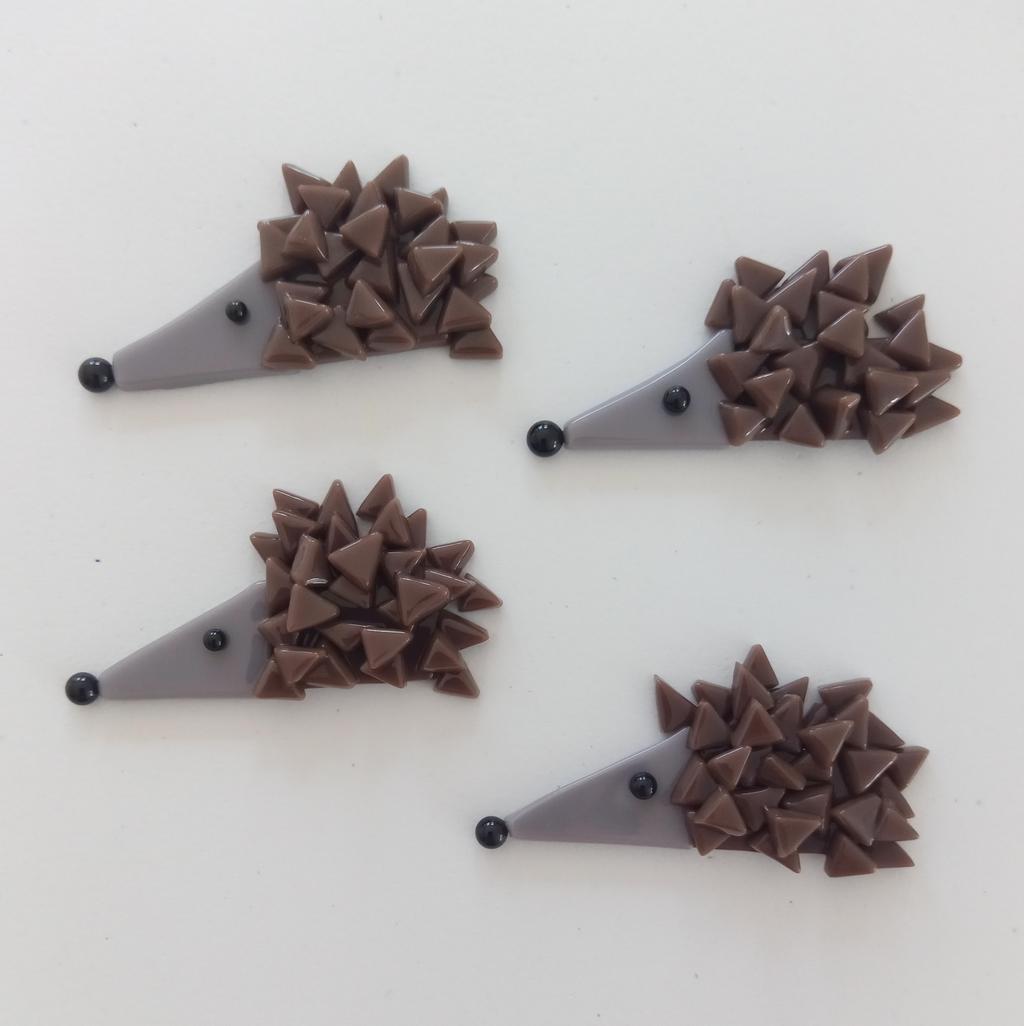
Pre-assembled and lightly fused hedgehogs, ready to incorporate into other pieces
-
A mirror, framed with a cute little hedgehog and a blue flower
-
An adorable hedgehog plant pot stake, to decorate your indoor pots
-
Two rainbow hedgehogs with 15 soft hearts, to celebrate a 15th wedding anniversary
-
Rainbow hedgehogs and monochrome red and blue versions
-
My classic, ever-popular, rainbow hedgehog
-
A custom hedgehog in the colours of the client's favourite football team
-
Teeny tiny little hedgehog hangings - brown or multi-coloured
-
Rainbow hedgehog in a wooden stand, popular for windowsills
-
The limited edition blue hedgehog, created especially for Prickles and Paws Hedgehog Rescue
-
A trio of hedgehog necklaces, with strawberries and foxgloves
-
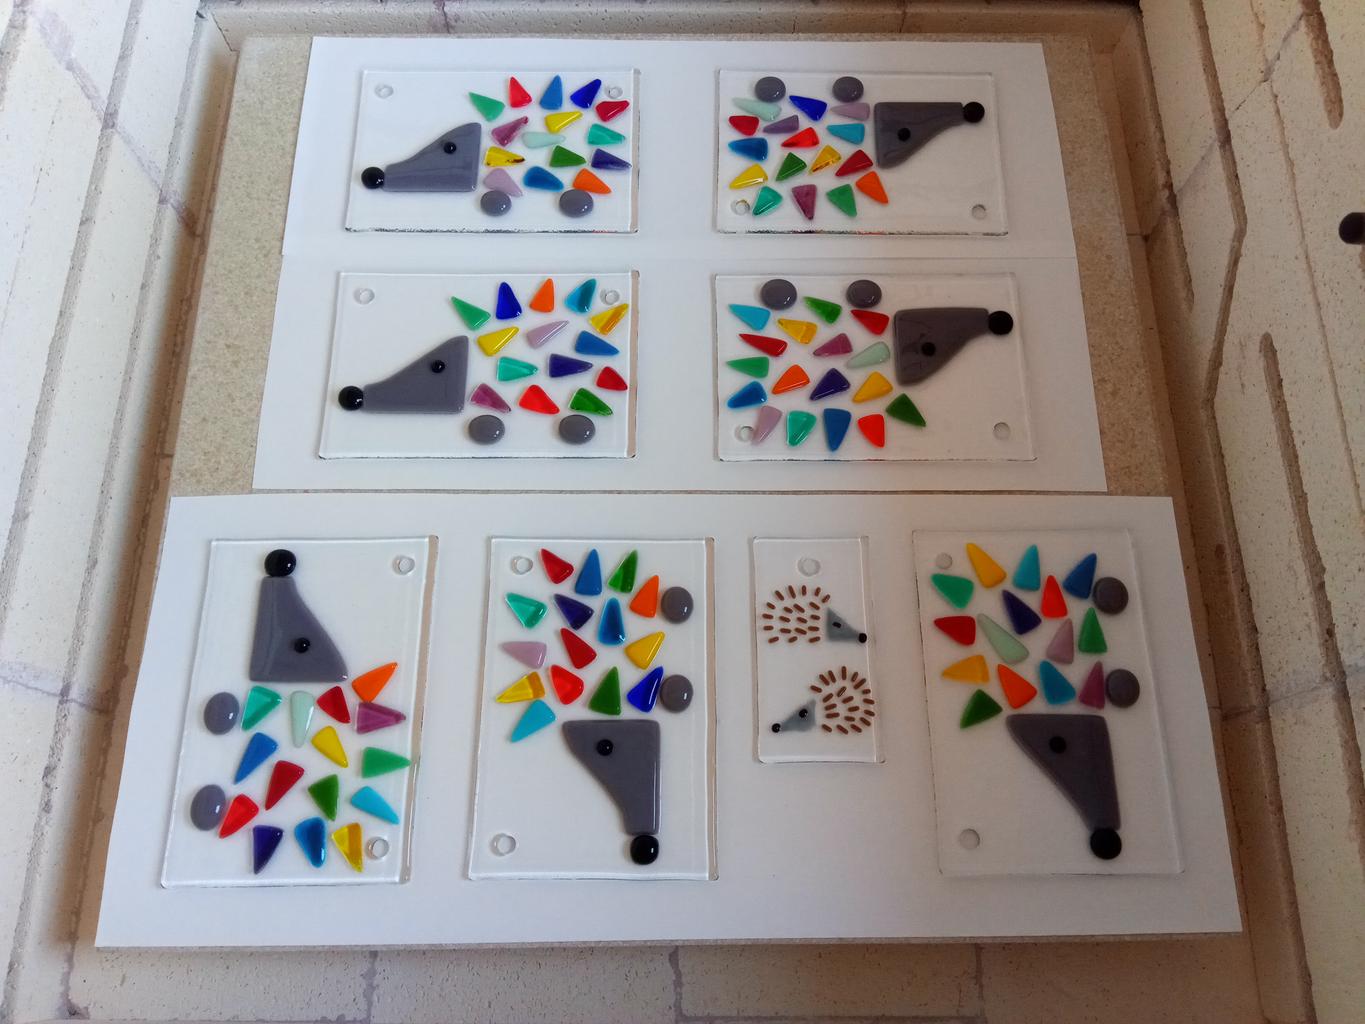
A kiln full of hedgehogs!
-
A unique octagonal hedgehog trinket dish
-
My most popular necklace: a hedgehog with strawberries
-
Hedgehog coasters, sold to raise money for Prickles & Paws Hedgehog Rescue charity
-
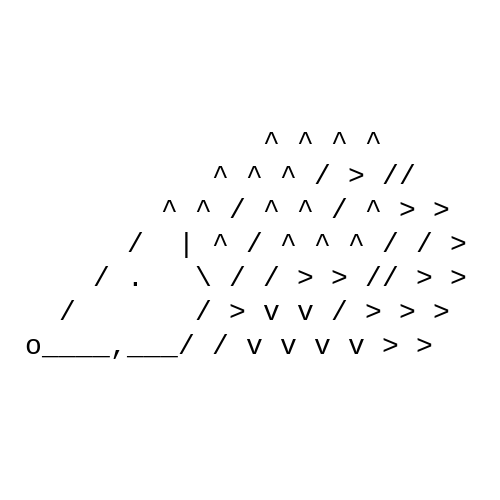
An ASCII Art hedgehog - because why restrict myself to making them from glass?
Jack of All Trades
Running a small business (by which I technically mean “being a sole trader”) is an immense challenge, in a good way! When I left my “proper job” to set up as a fused glass artist, one of my ex-colleagues wished me a happy “indefinite sabbatical” - I’d had a period of sabbatical while I decided what I wanted to do next. My boss had told me (before I started my sabbatical) that I’d be bored if I didn’t come back. Oh how wrong they were…
In Glassified, I am the:
- Glassworker
- Woodworker
- Photographer
- Web Designer
- Accountant
- Product Designer
- General Administrator
- Warehouse Operator
- Queen of Spreadsheets
- Head of HR
- Social Media Guru (I am really no guru!)
- Head of Marketing
- Head of Pricing
- General Dogsbody
Oh and obviously I’m also wife, mum, taxi service, cleaner, household administrator, chief cook and bottle washer!
Some of these jobs I enjoy more than others. I love a good spreadsheet! I don’t understand social media. And photography… well, that deserves a whole blog post of its own. I appreciate the flexibility that self-employment gives me: last-minute engagements in my son’s social life don’t send me into a spin in the same way they did when I had formal employment to work around.
I enjoy the variety I get by fulfilling all the above roles - and if I’m not in the mood for one thing one day, there’s probably something completely different on my list I can tick off instead. And of course, there’s the feeling of excitement/nervousness every time I open my kiln lid!
I should also give a massive shout-out to my husband in this post. Although I have titled myself the Web Designer, I mean “design” in the sense of “I’d like a purple bit here, that font shouldn’t be underlined, I want this photo to be smaller than usual, please can I have a scrolling gallery full of photos”. He does all the magic, and there’s a lot of magic on this website!
And I included Woodworker on my list - I do the measuring, sawing, sanding and filing - but he’s in charge of the computer-controlled bits (which has turned out to be even trickier than it sounds). He’s also my sounding board for ideas, puts up with me dealing with social media in the evenings, and joins in my happy dance whenever an order comes in.
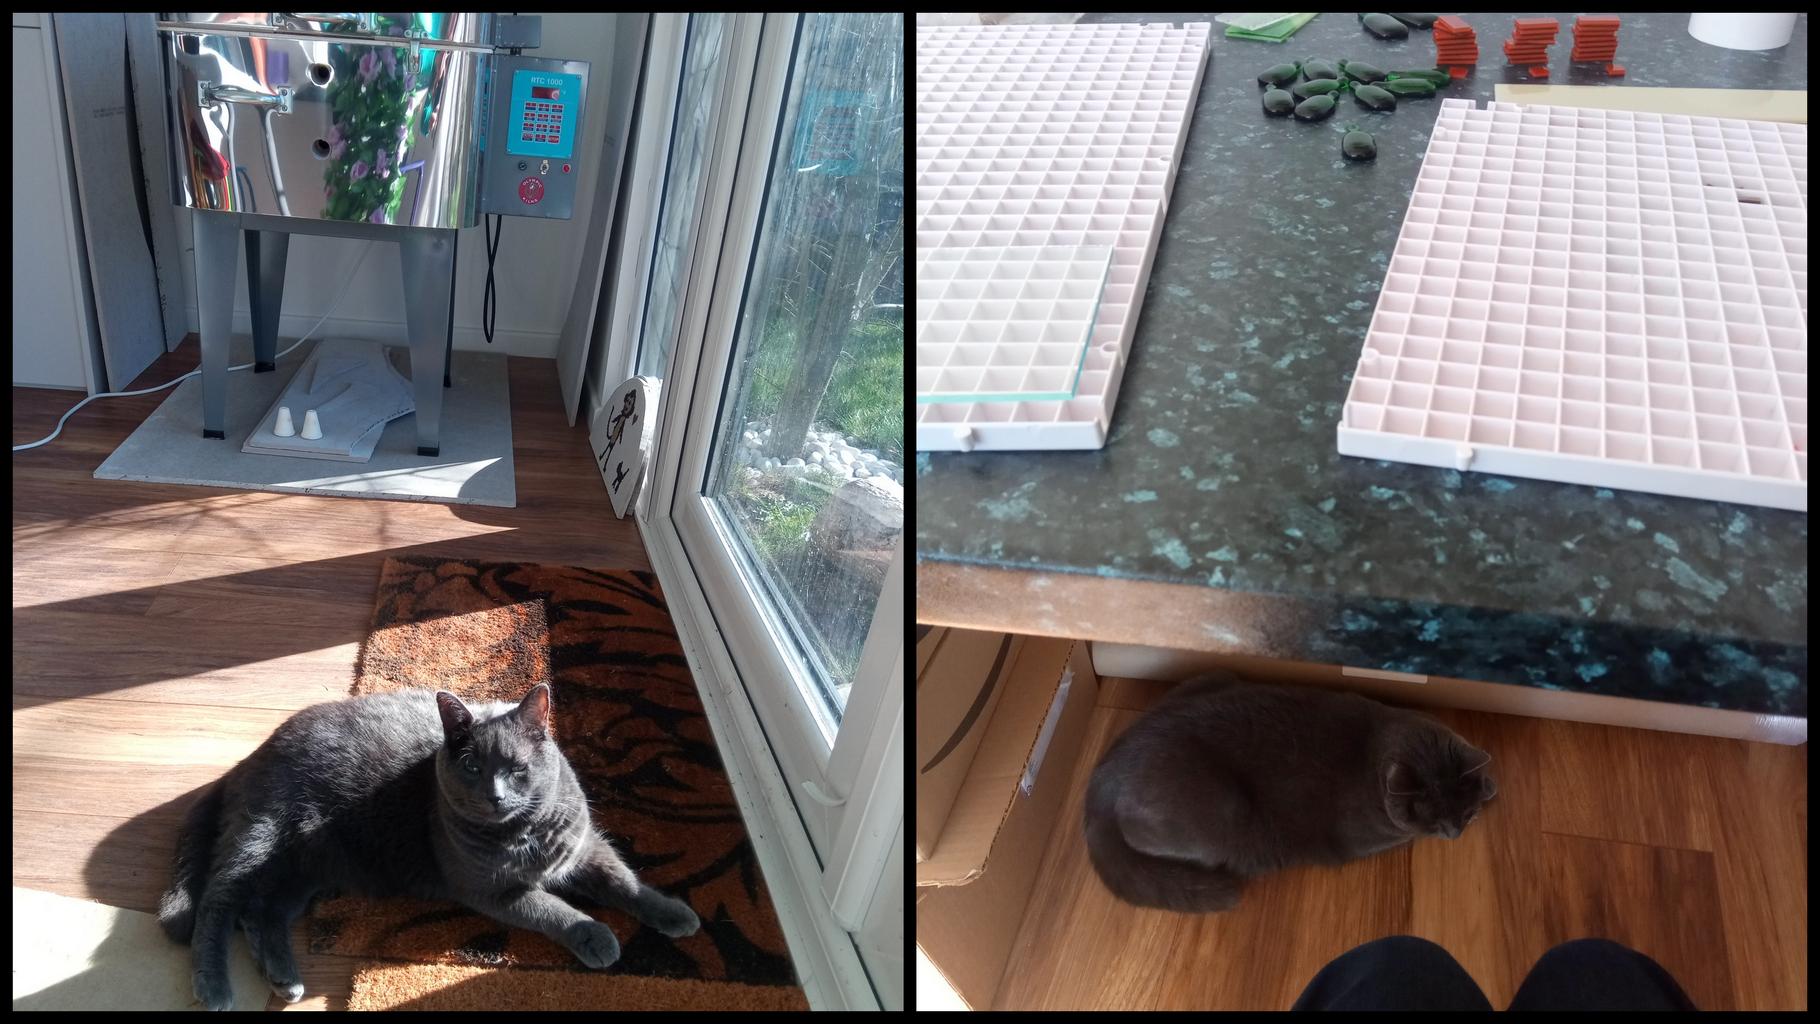
Finally, I have a couple of very demanding self-appointed colleagues. They need doors opening and closing frequently (they’re always the wrong side), they occasionally try and jump onto a work area that’s covered in glass, and they have very different ideas to me about what makes a good sales photo. They are, of course, my rescue cats Bert and Ernie!
Suffragettes
This range is a design collaboration with the lovely Cat at Clavis & Claustra. She is an inspirational businesswoman, an ardent feminist and has an encyclopaedic knowledge of all things suffragette.
Our first piece, March of the Women, features a small army of women from across the globe campaigning for equality.
These sold out on their first day (don’t worry, we’ve restocked!) and so were swiftly followed by another piece, the Suffragette Troublemaker.
Head over to the Clavis & Claustra shop to purchase.
Watch this space for more collaborations with Clavis & Claustra!
Photography
I’m not naturally a photography enthusiast: I don’t have a fancy camera, I rarely remember to think about composition, and I tend to put all my concentration into getting a non-blurry shot without ugly shadows or reflections. This usually involves taking loads of shots, discovering there was a major flaw in all of them (a stray piece of dirt or something), taking a load more and eventually selecting one I’m more-or-less happy with.
Lighting
Glass, of course, is a particularly reflective surface to be trying to photograph. If it’s too sunny, all I get is a massive reflection (usually of me). If it’s not sunny enough, I get a dull and lifeless photo. Sometimes, I drop everything I’m doing and dash off to try and get the perfect photo because I’ve just seen the sun go in or out or generally become less extreme!
I’ve considered trying one of those lighting boxes to see if (by some miracle) it solves all my problems - but I think actually the results would be too sterile anyway, so I haven’t ventured down that road. I think it’s still important to provide a bland photo against a white wall to give the clearest idea of colours and detailing, but other shots can help bring a piece to life more.
Then there’s the light shining through the glass. Whether it’s casting a shadow on the wall behind (in some cases, I use a hook that’s further from the wall to enable this effect), or shining through transparent coloured glass (best observed with freestanding pieces), there are some stunning moments.
-
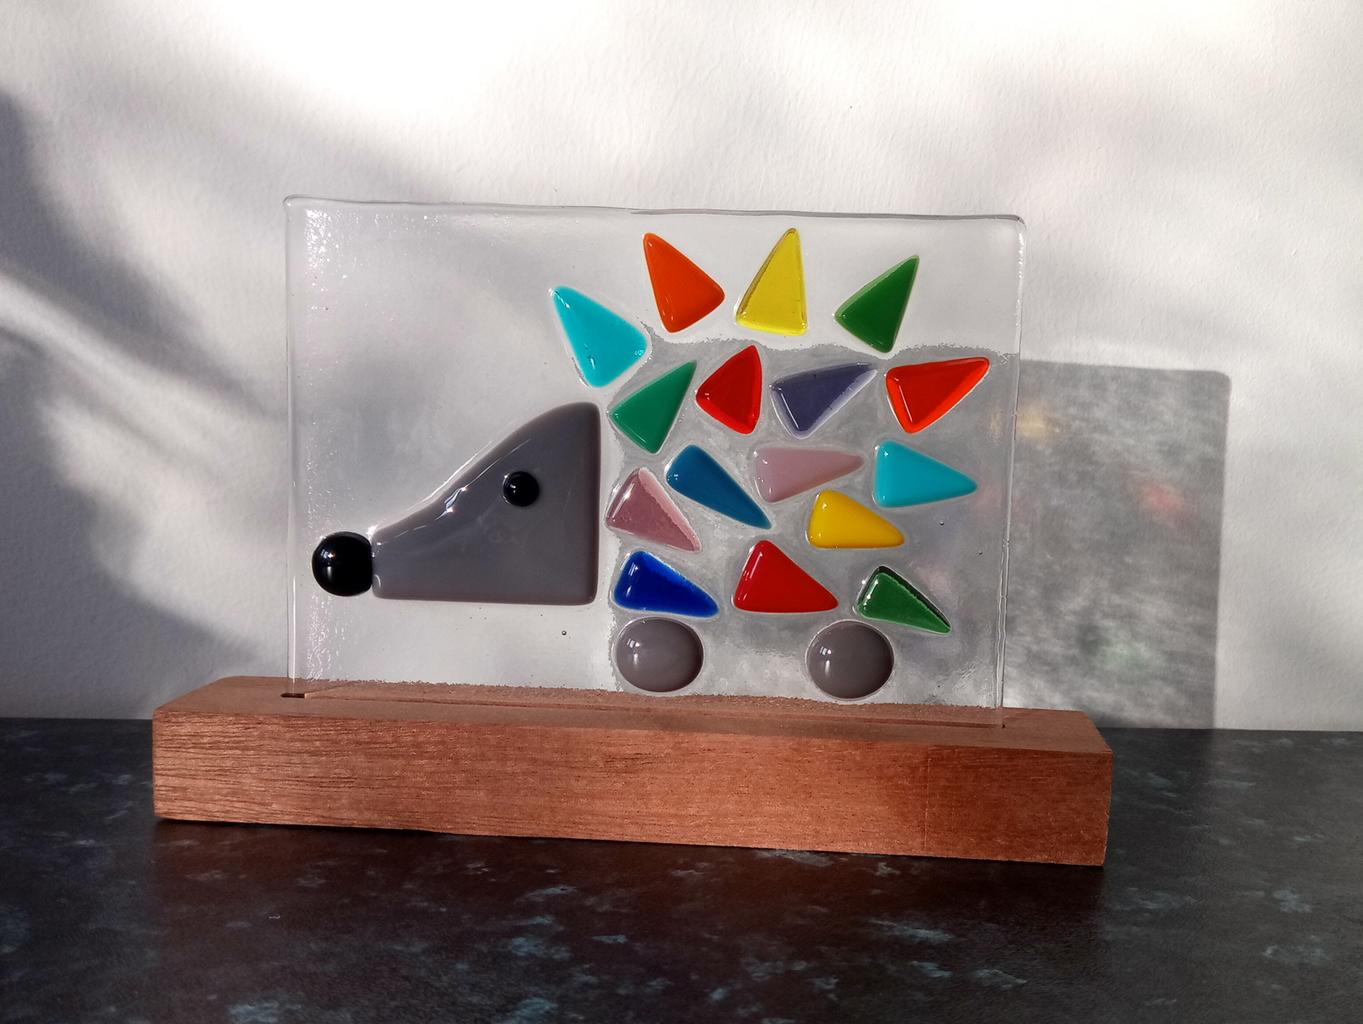
A rainbow hedgehog with shadowy effects on the wall, and some colour showing through
-
A colourful elephant makes an excellent shadow
-
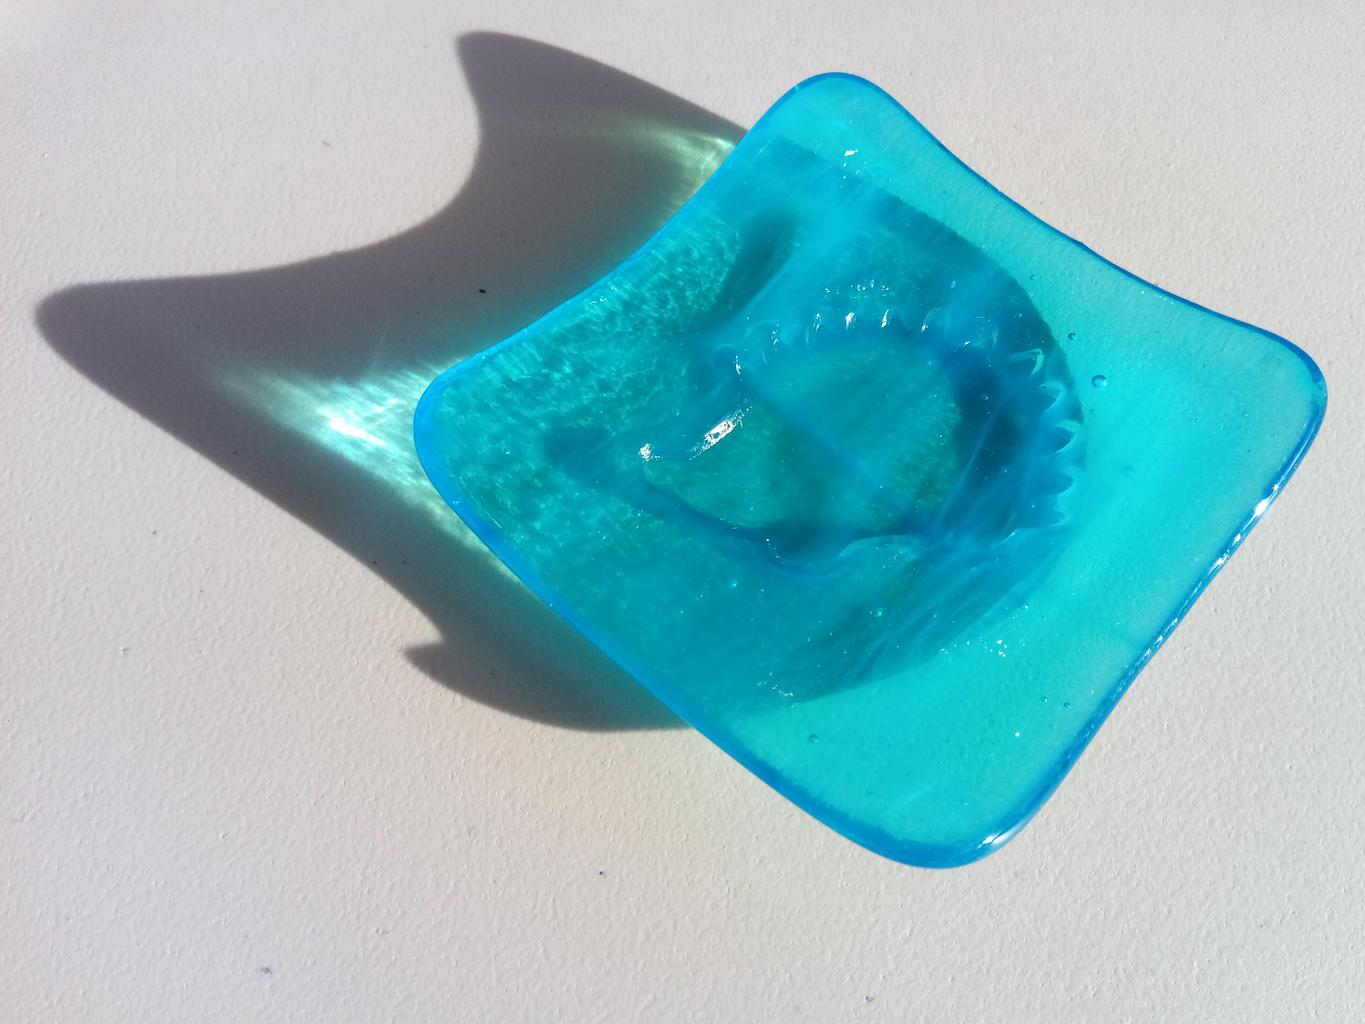
Light and shadows through a hedgehog trinket dish, aided in this case by the bright sunshine
-
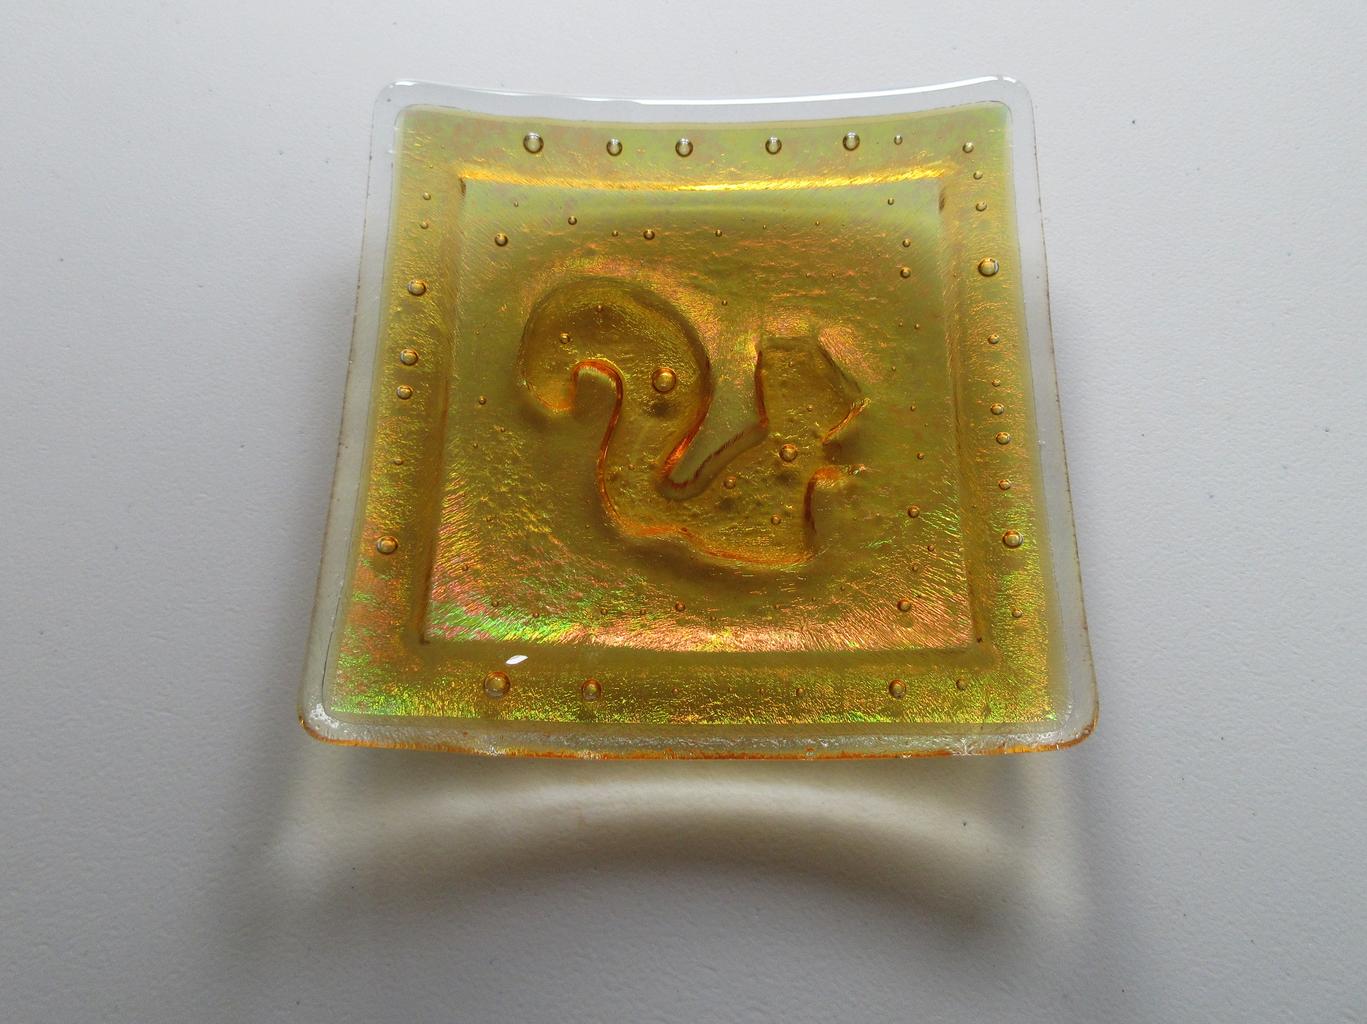
A squirrel trinket dish made with luminescent glass - trying to capture the luminescence
-
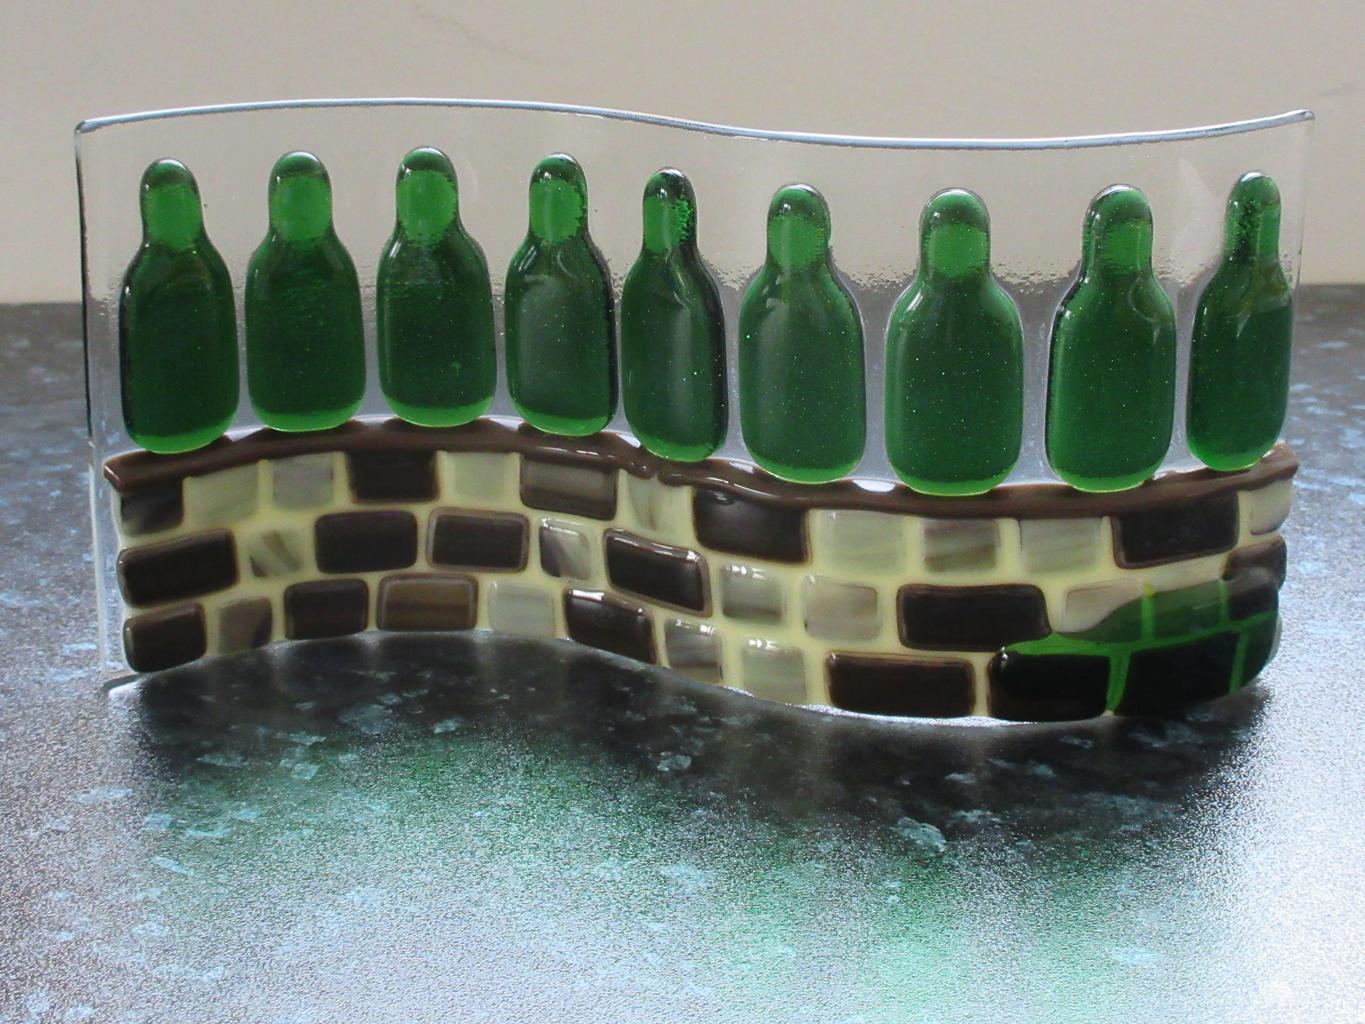
Even on a dark worktop, the glow from the ten green bottles still comes through
-
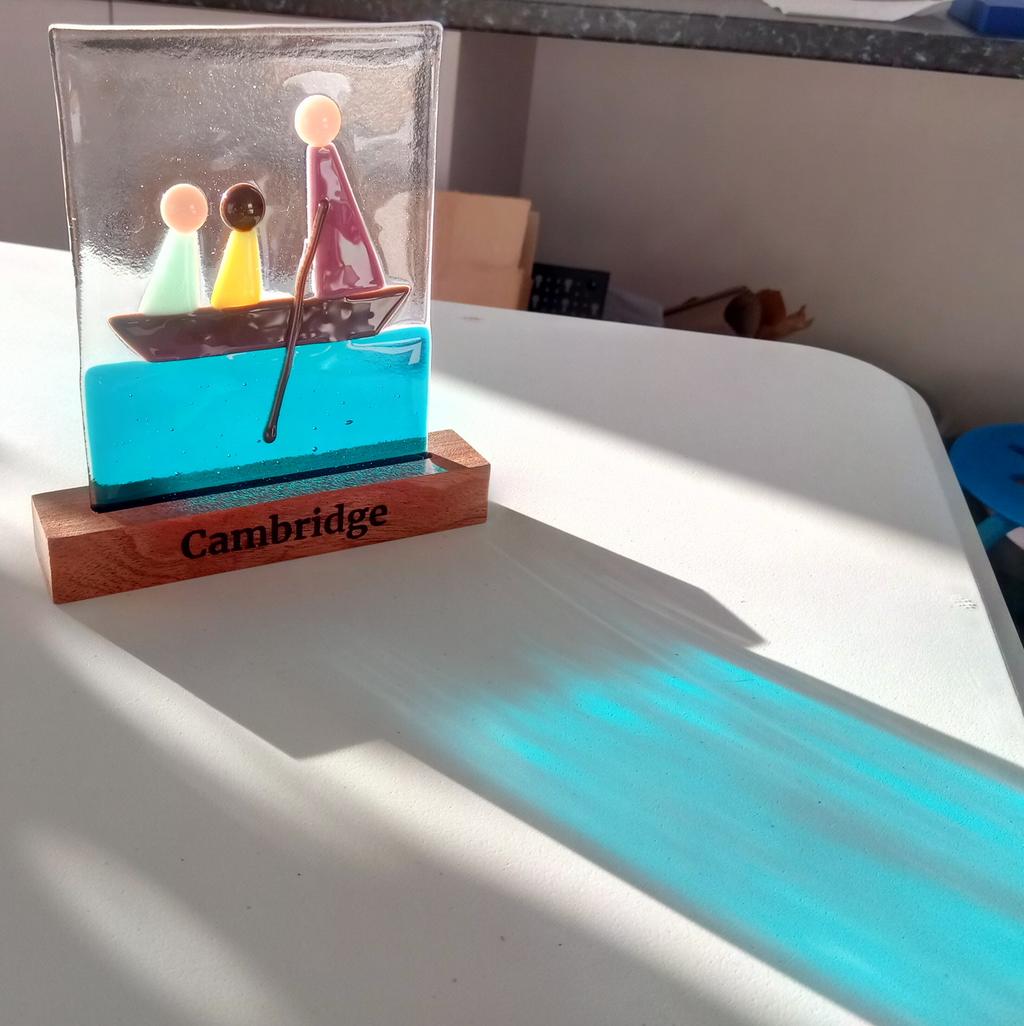
I was busy working one day, when I turned round and saw this! Such a bright blue.
-
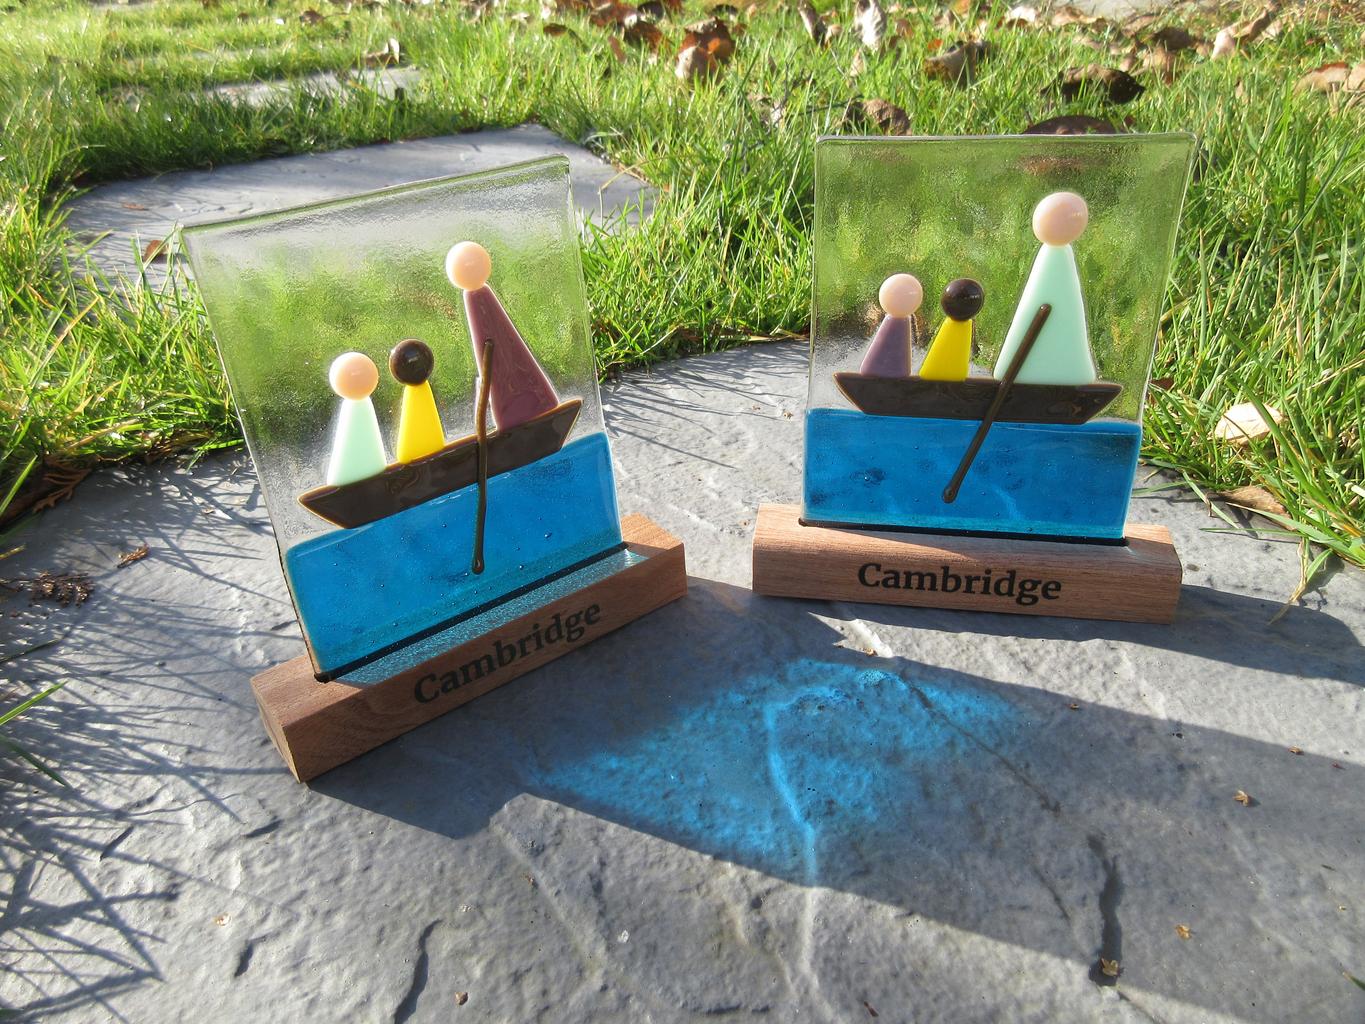
... so I developed it into a more "salesworthy" shot, although I still struggled with the lighting on the inscriptions
-
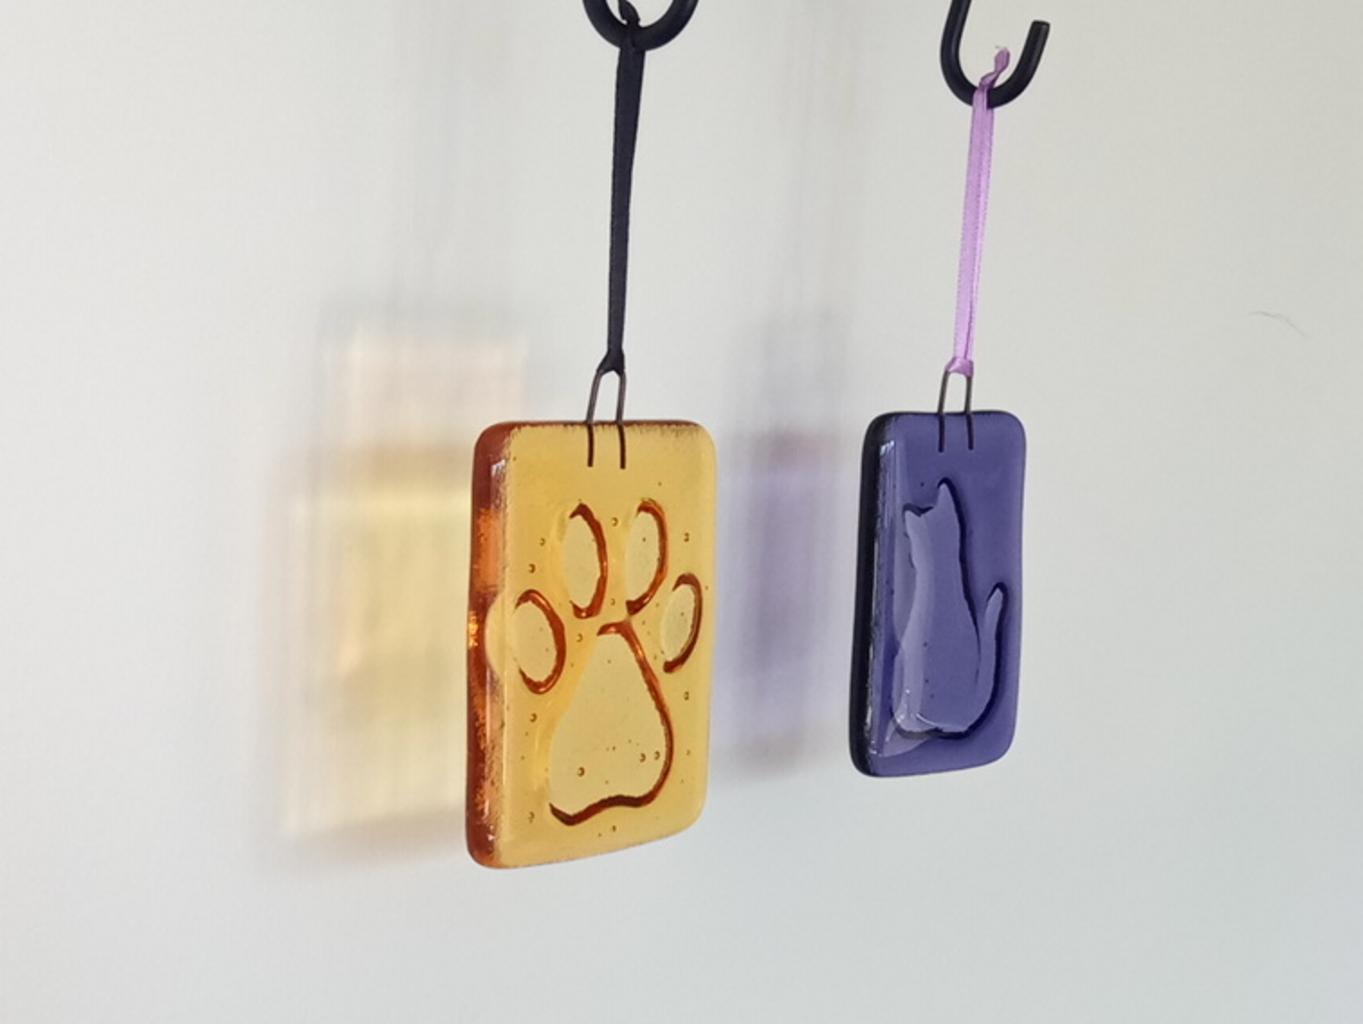
Suncatchers make lovely colours if they're hung a little way from the wall - but so hard to capture without a reflection!
-
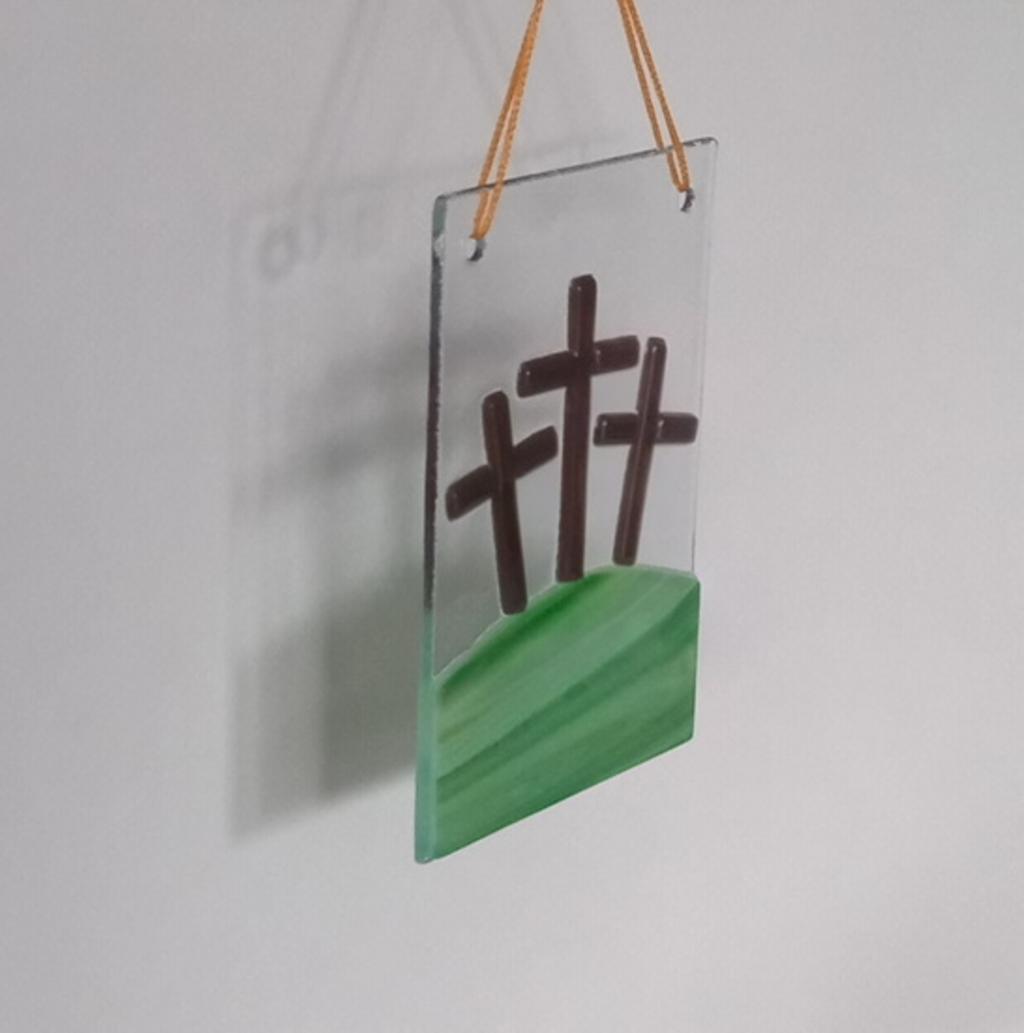
Shadows of the Easter crosses can be projected onto the wall too
-
Sometimes, an accidental camera flash can work wonders and create an ethereal glow!
Different Angles
My fused glass is also very tactile, which isn’t always obvious from “straight on” pictures. Some pieces, like my kiln-carved suncatchers, have a pleasing weightiness to them - they’re made from a double layer of glass and develop thick rounded corners in the kiln. Others, for example my rainbow hedgehogs or suffragette scenes, have the design fused onto a backing piece - and each hedgehog spine, suffragette campaigner or piece of bunting is a smooth shape proud of the surface that’s just asking to be touched.
Pictures that show off these features don’t tend to be my “cover photo” for a product - they often end up looking mildly ridiculous with an exaggerated aspect ratio, and don’t give a good overview of the piece at all. But they do add to the story - when selling online, I have to try and give the full experience that someone seeing my work “in the flesh” would get.
-
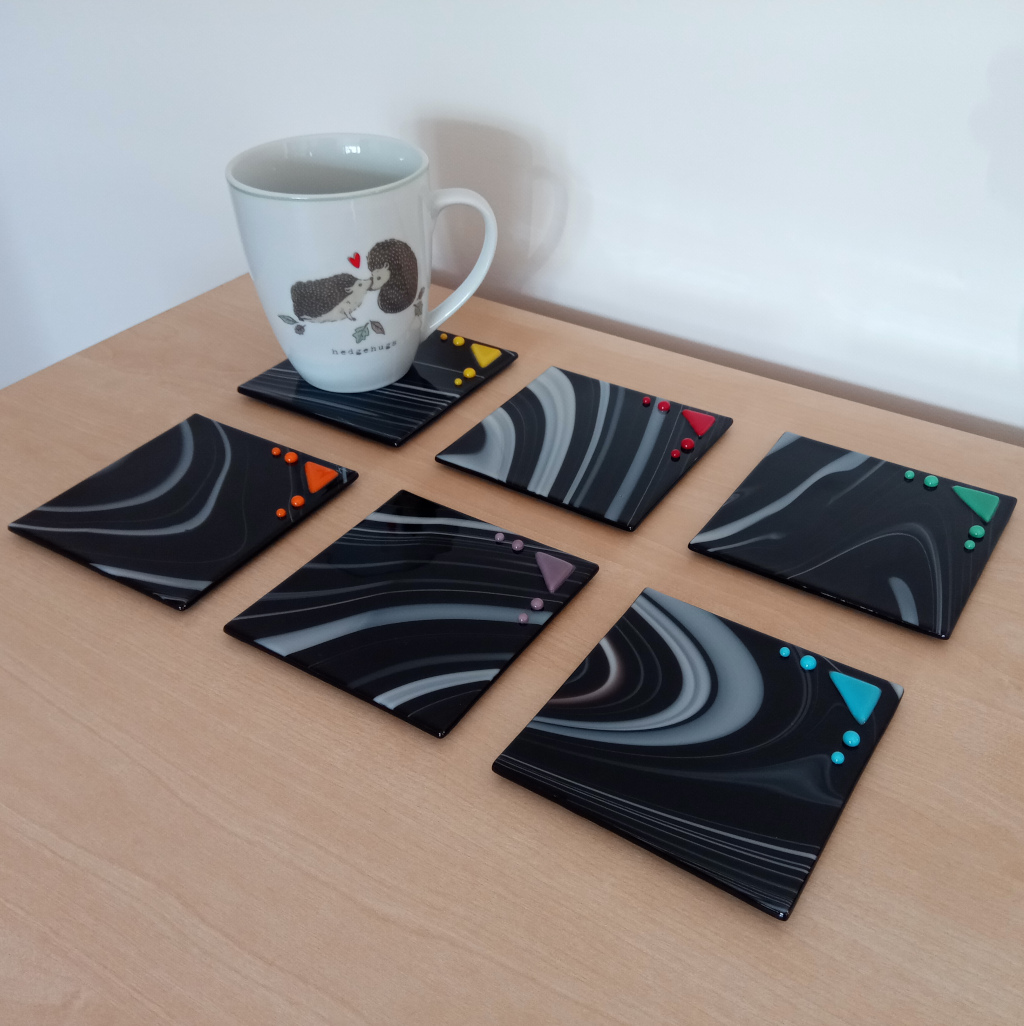
This coaster design has a coloured embellishment in the corner, but a top-down shot doesn't really show that the coloured part is raised...
-
... whereas a sideways shot shows it off nicely, even if it does look a bit odd!
-
Not only is the bunting begging to be touched, it's creating stunning internal reflections that colour the edges of the clear glass too
Different Backdrops
The earliest Glassified photos I took were very plain - they showed the attributes of the glass without any further distractions. But over time, I’ve become more adventurous with my backdrops - using grass, bricks, shrubs, fences, curtains, and even the back of a paving slab to show off my work.
I still struggle to set up a scene with actual props for any of my photos. In my own mind, the props are a complete distraction - even if they do add some extra colour, interest or context. Indeed I once accidentally sold a 3D-printed plastic chess set, because I’d used it as a prop in my chess board photos! (I rest my case: props are a distraction!) But when it’s winter, the lighting is terrible and the garden is dull, they might have their place.
-
A plain white wall...
-
... or a tree...
-
... or a fence...
-
... or the back of a spare paving slab - I especially like the light shining through this one!
-
Or what about a planter of early spring bulbs?
-
Or some moody skies?
-

This was one of my early attempts to pose my work with props. Complete disaster!
-
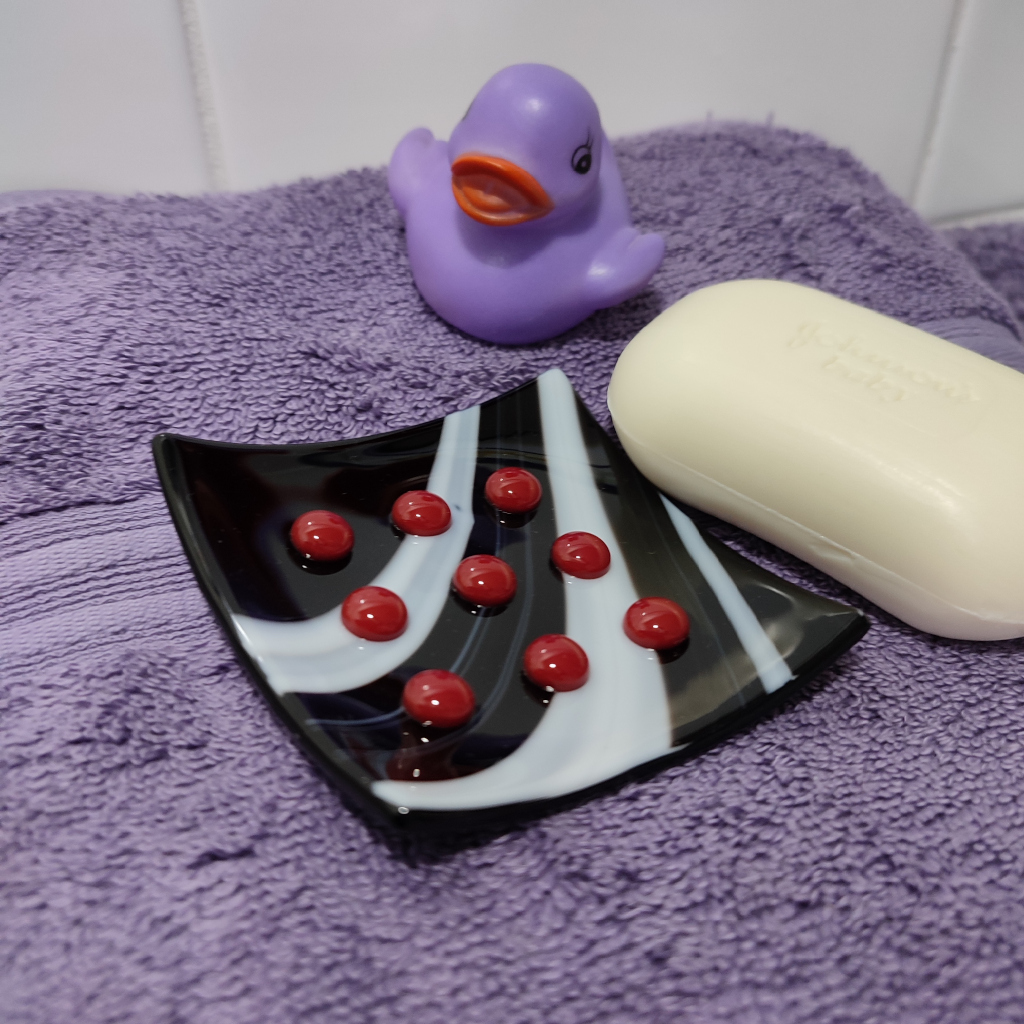
A soap dish (or sponge rest), displayed with props - I had to be guided through the setup for this photo by a friend, but at least I didn't accidentally sell the props this time!
Never work with children or animals…
I have cats. They don’t tend to give me much choice in the matter: if they decide I’m working with them that day, then that’s what I’m doing! Sometimes they’ll quietly curl up nearby (I have a special piece of cardboard on the studio floor for them to sleep on: it may as well be the Ritz!), but generally if a camera’s involved then they’re up and about, offering their assistance (or hindrance).
-
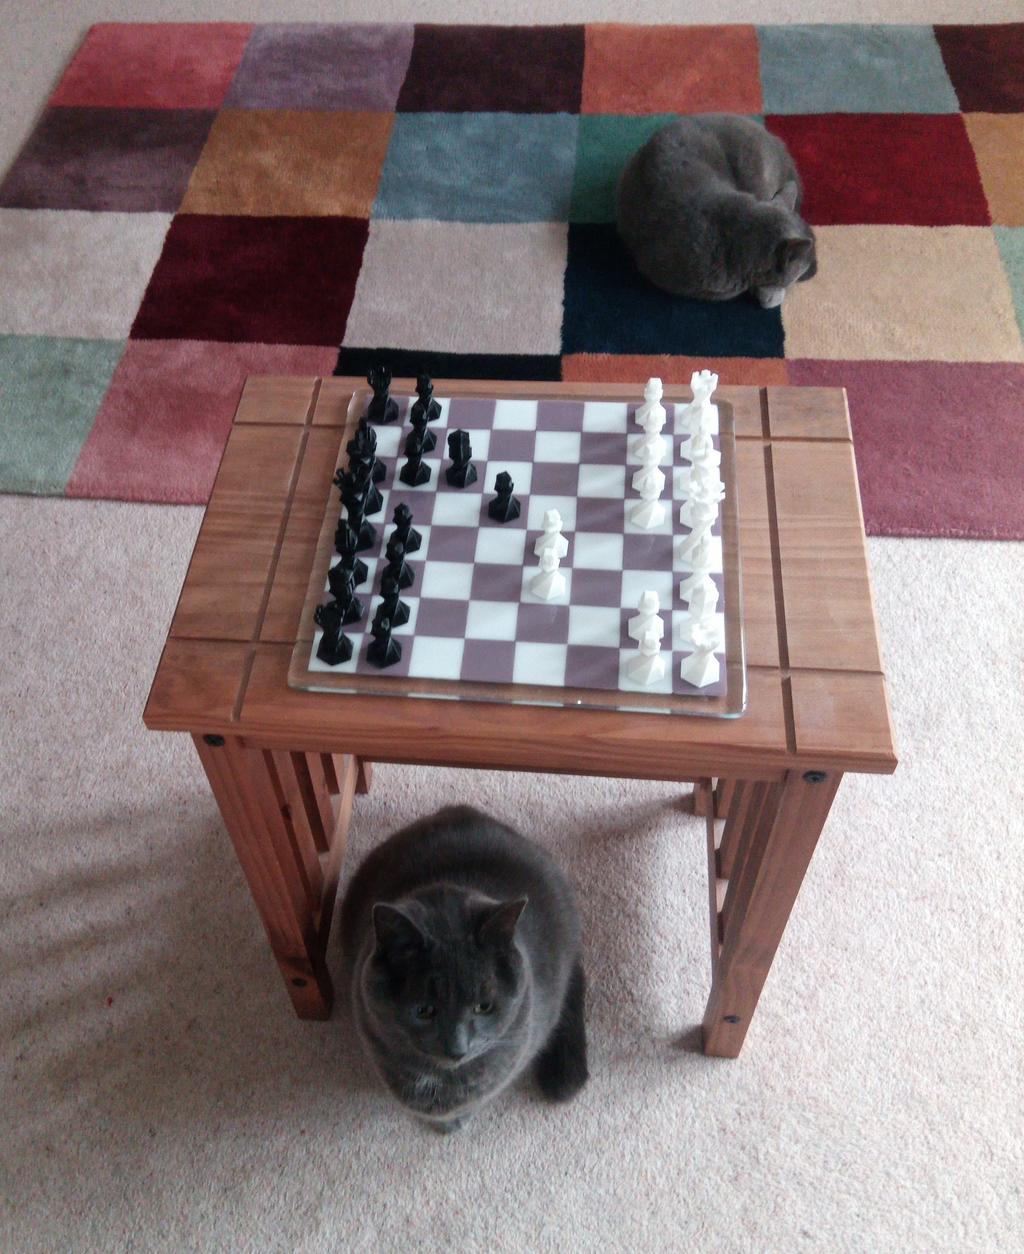
They were determined to be in shot at the beginning of my chess board photo shoot
-
Occasionally they sneak up and photo-bomb when I'm least expecting it
-
But of course if I ask them to pose, the best I'll get is a scowl!
-
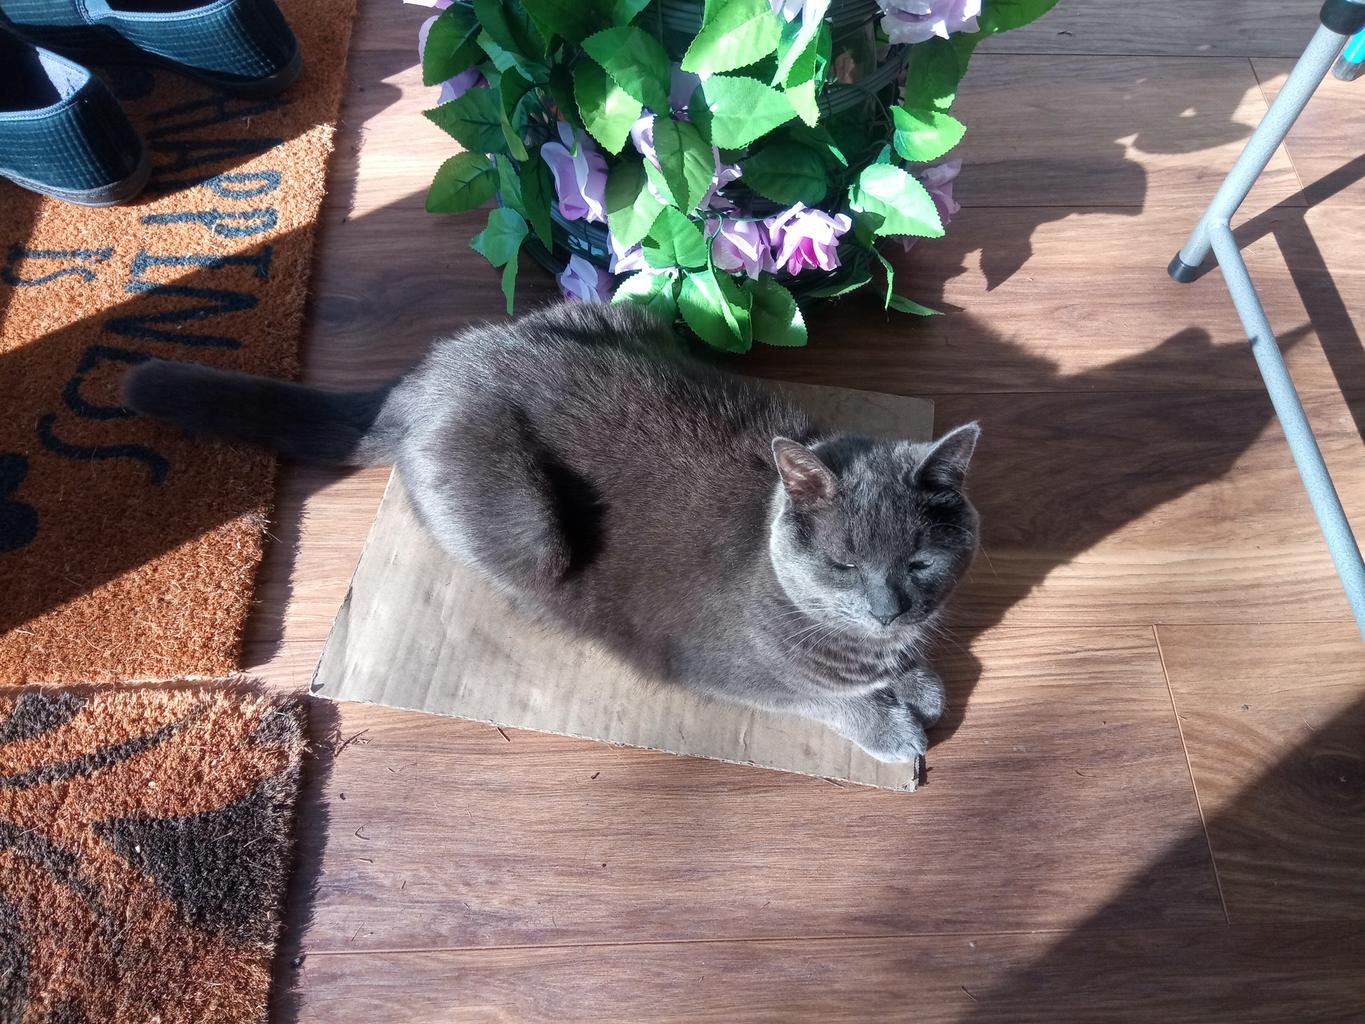
Ernie did agree to pose on his piece of cardboard (eventually)
-
And then came to assist with another photo shoot!
If you look closely, you can even see Ernie in the triple-hedgehog photo at the top of this website!
Blue Hedgehogs
This wouldn’t really be my blog if it didn’t have at least two posts about hedgehogs, would it! (If you don’t know me and/or haven’t read the previous Hedgehogs blog and About page of this website: I love hedgehogs. Just a bit.)
For Hedgehog Awareness Week 2023, I partnered with Prickles and Paws Hedgehog Rescue to raise money for their amazing work (which includes caring for sick and injured hedgehogs, and building Cornwall’s first ‘proper’ hedgehog hospital).
They asked me to come up with a special Limited Edition design for them to sell alongside my popular rainbow hedgehog wall hangings. Their colour scheme is blue, so I proposed and prototyped a hedgehog using a blue swirly patterned glass (with a few plain translucent blue spines thrown in for good measure and extra blueness).
This is the first time I’d used a patterned glass for hedgehog spines and I was a little worried the swirliness of the pattern would be lost once it was cut down to little triangles - but actually I think it turned out really well!
And so did the supporters of Prickles and Paws!! They were amazing: we really are a nation of hedgehog lovers.
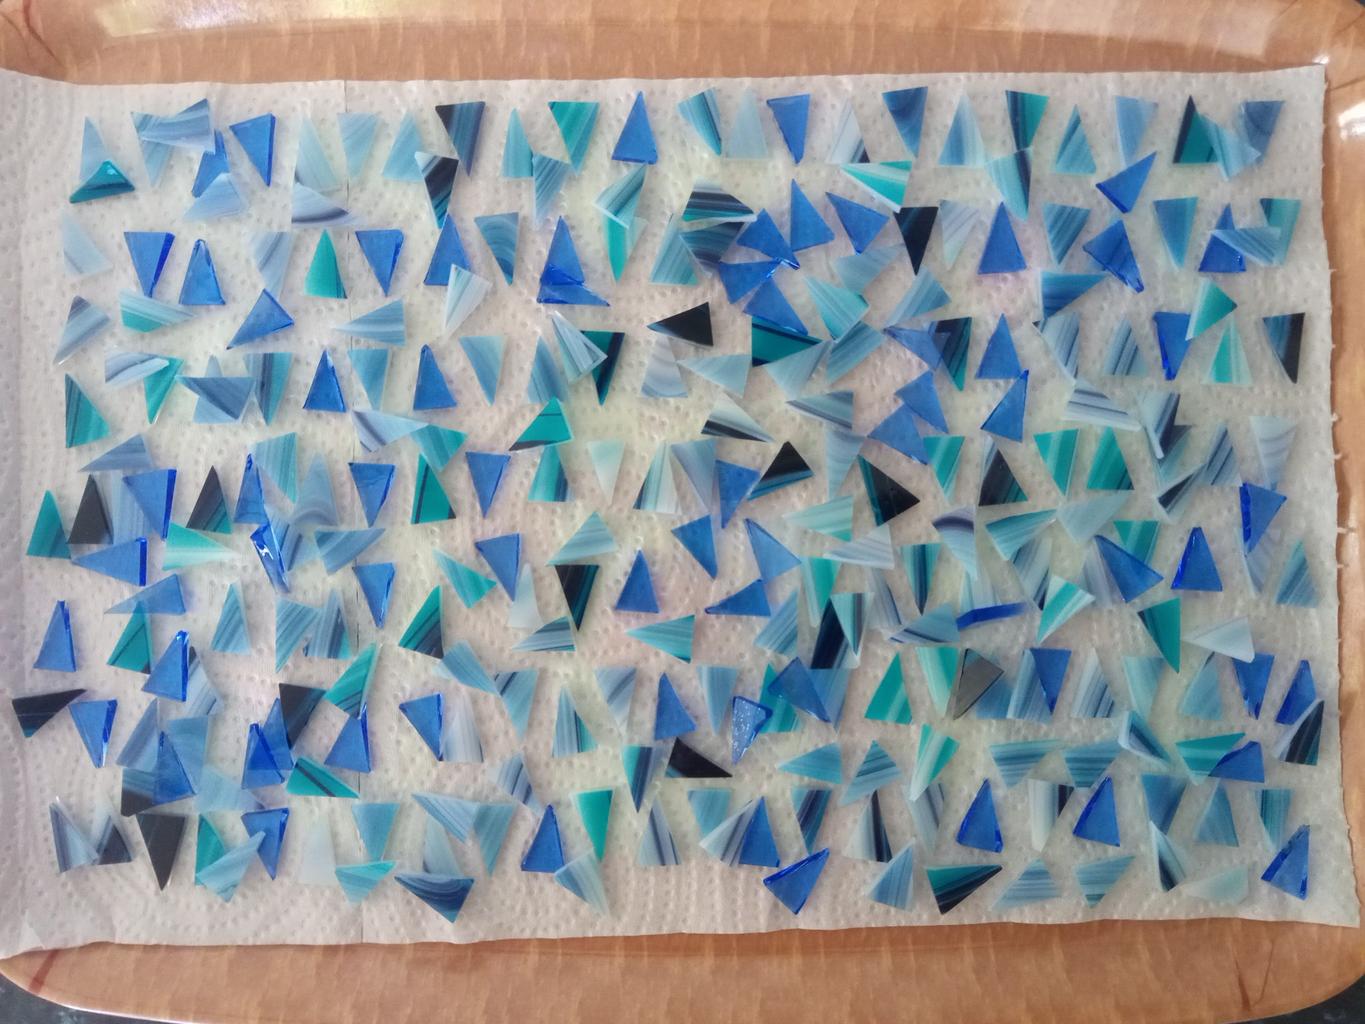 They ordered lots and lots of gorgeous blue hedgehogs (and a good few cheerful rainbow ones too), and I was kept very busy for a couple of weeks, making them all and sending them out. I cut and washed the spines in massive batches and dried them in the airing cupboard - I’ve learnt the hard way that even a tiny bit of dampness in the kiln can cause havoc, but there was no way I’d have been able to clean and dry each spine individually by hand when I had this many to deal with!
I blunted several drill bits, drilling all the holes for the hanging ribbon, and at one point I was worried I would run out of the clear background glass - I hadn’t anticipated this many orders! I even enlisted my 8-year-old one Saturday, to help me make a batch of paws. (He loves to use the glass-snapping tool, and I don’t often let him!)
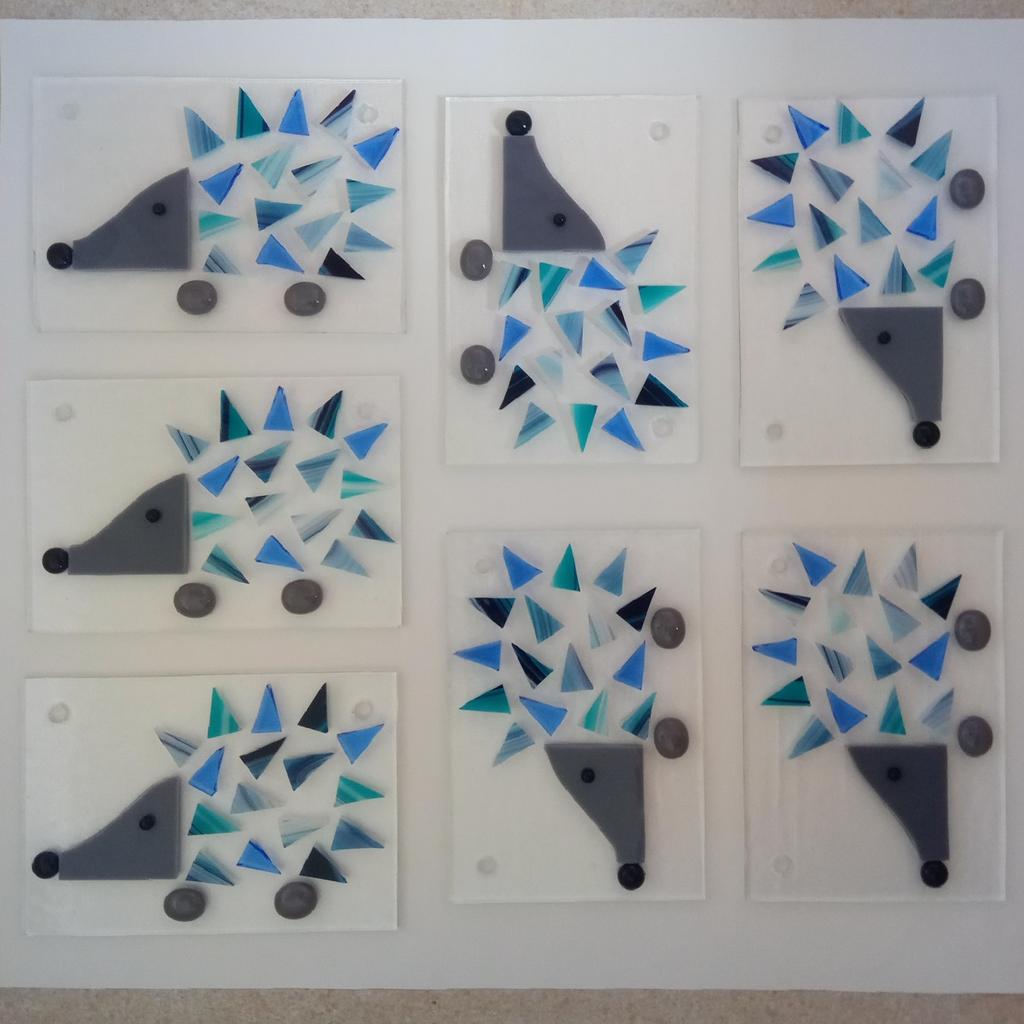 I worked out that I could fit seven wall hangings on my kiln shelf at a time, so that limited me to seven each day because the kiln takes well over 12 hours to do its thing and cool down again. The weather was kind to me: the sun was shining and the solar panels were generating lots of electricity, so I tried to have the kiln full by lunchtime each day so that I could use it to my best advantage. I certainly didn’t have to turn the heating on at all: the room had barely cooled below 30°C by the time the kiln was on again each time! It’s a good thing I like a bit of warmth. Beats an air-conditioned office hands down!
Eventually, they were all ready to go off to their new homes. I spent surprisingly many hours tying ribbons and packing boxes - it all adds up and I wasn’t charging for my time to make these hedgehogs, so I’m glad to have raised a good sum of money for the charity. And hopefully my hedgehogs will put a smile on their owners’ faces too!
If you’re interested in seeing more about how I make my fused glass hedgehog wall hangings, here’s a “making of” video I posted on my YouTube channel last year. I quite enjoy making things in batches - it lets me find efficiencies and streamline the process (though I’ll be glad to have a little break from making hedgehogs and try out some other things just at the moment!). One day, I think I’ll write a blog post about batch baking.
The video doesn’t show the whole other process involved in making the feet, noses and eyes - they go through the kiln separately beforehand to form the nice rounded shapes that I can then include when I’m putting each hedgehog together. It took quite a lot of experimentation to settle on my final ‘recipe’ for each component - and even now, there’s variation in each one. That’s the nature (and joy!) of handcrafted work.
For now, I’ve got to go off and finish preparing for my first craft fair. I wonder how many hedgehogs I’ll sell there! Obviously not any Limited Edition blue ones though - just my standard rainbow and monochrome varieties.
My First Craft Fair
In the months after Glassified’s first Christmas, when sales were exceptionally slow (thanks in part to a cost-of-living crisis, as well as it being a slow time of year), I realised I was going to have to try doing craft fairs to sell my work. I didn’t exactly relish the idea - I’m not much of a people person, and I’d much rather quietly sell my work online - not to mention the fact that they’re always at weekends and I didn’t quit my standard office job to start working weekends instead! But I came to terms with the idea and started to make plans (I am, after all, a planner at heart).
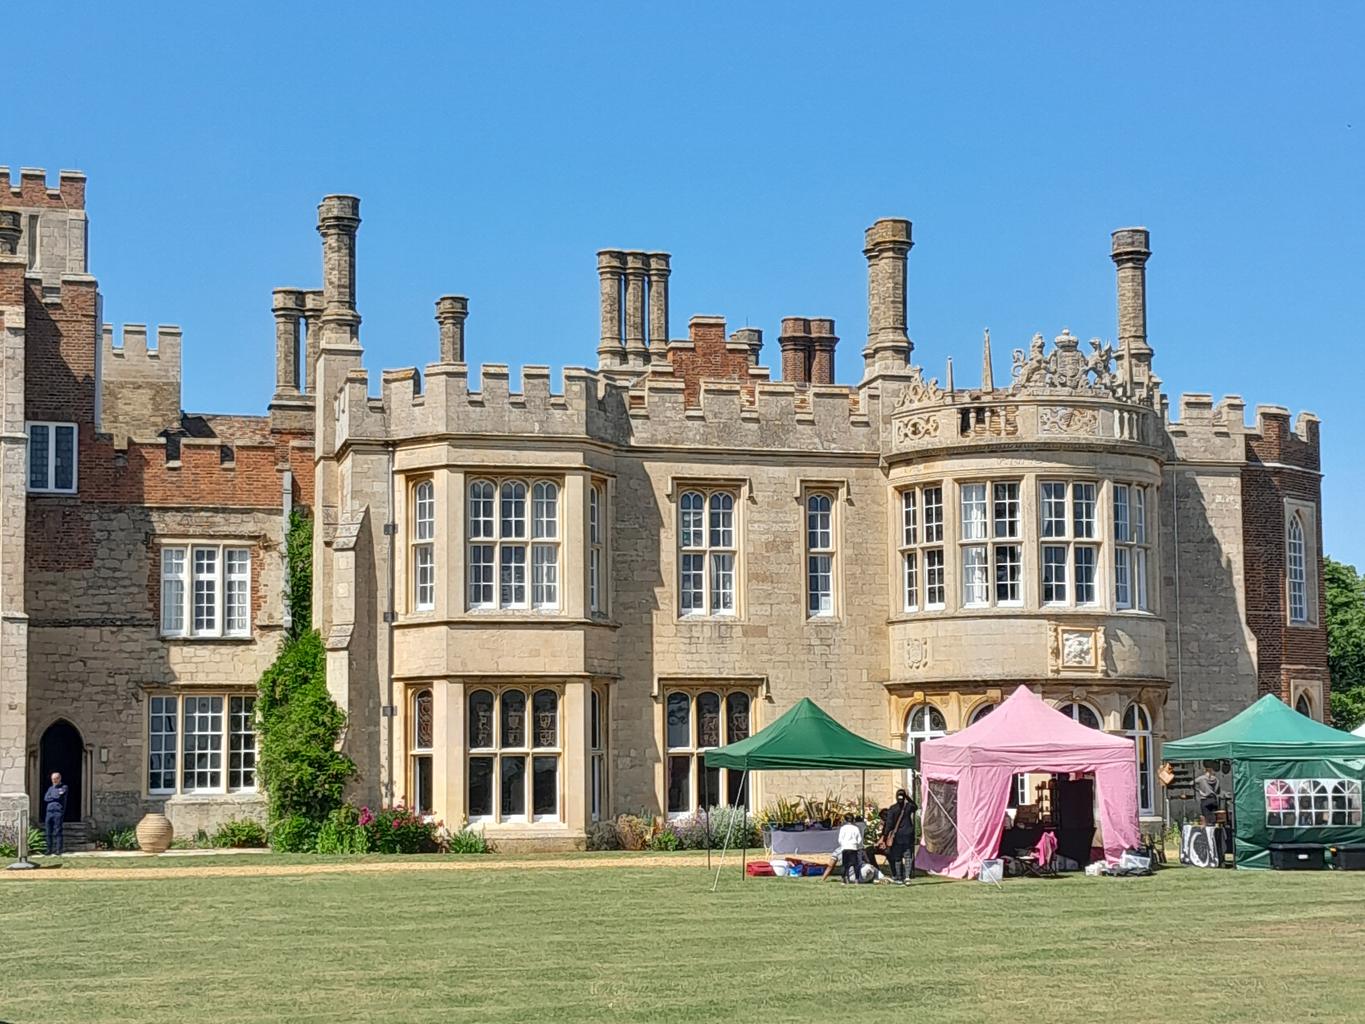 I visited a few local craft fairs before I found one that I really liked: it was busy (good footfall), a nice atmosphere, a wide selection of stalls of different types and I felt I’d fit in. It happens every month during the summer, was well advertised in the local area and seemed like a good choice if I decided in the future that I wanted to do craft fairs more regularly. Oh, and it’s in a beautiful old house that is also used as a wedding venue!
I didn’t want to spend loads of money setting myself up to do craft fairs as I didn’t know if I would be doing many/any more (as I said, I didn’t relish the idea!) - but at the same time, I did want my stall to look professional and there were certain “must-haves” like a payment card reader that are just inescapably necessary. So, in typical Nicola style, I wrote myself a list of things to do / buy / make / organise. Quite a long list. Then I set up a trial stall in the spare bedroom, to check that I’d got everything I needed - and added a few more things to the list. It was 38 items long in the end!
Apart from all the admin side of things (card payment machine, cash float, order forms for commissions, paper bags, business cards, etc.), I put a lot of thought into displaying my glass. I made a plain cream table cloth from a spare flat bedsheet to fit over my existing craft table, leaving the back open so that I could keep the paper bags and things underneath and access them when I needed to.
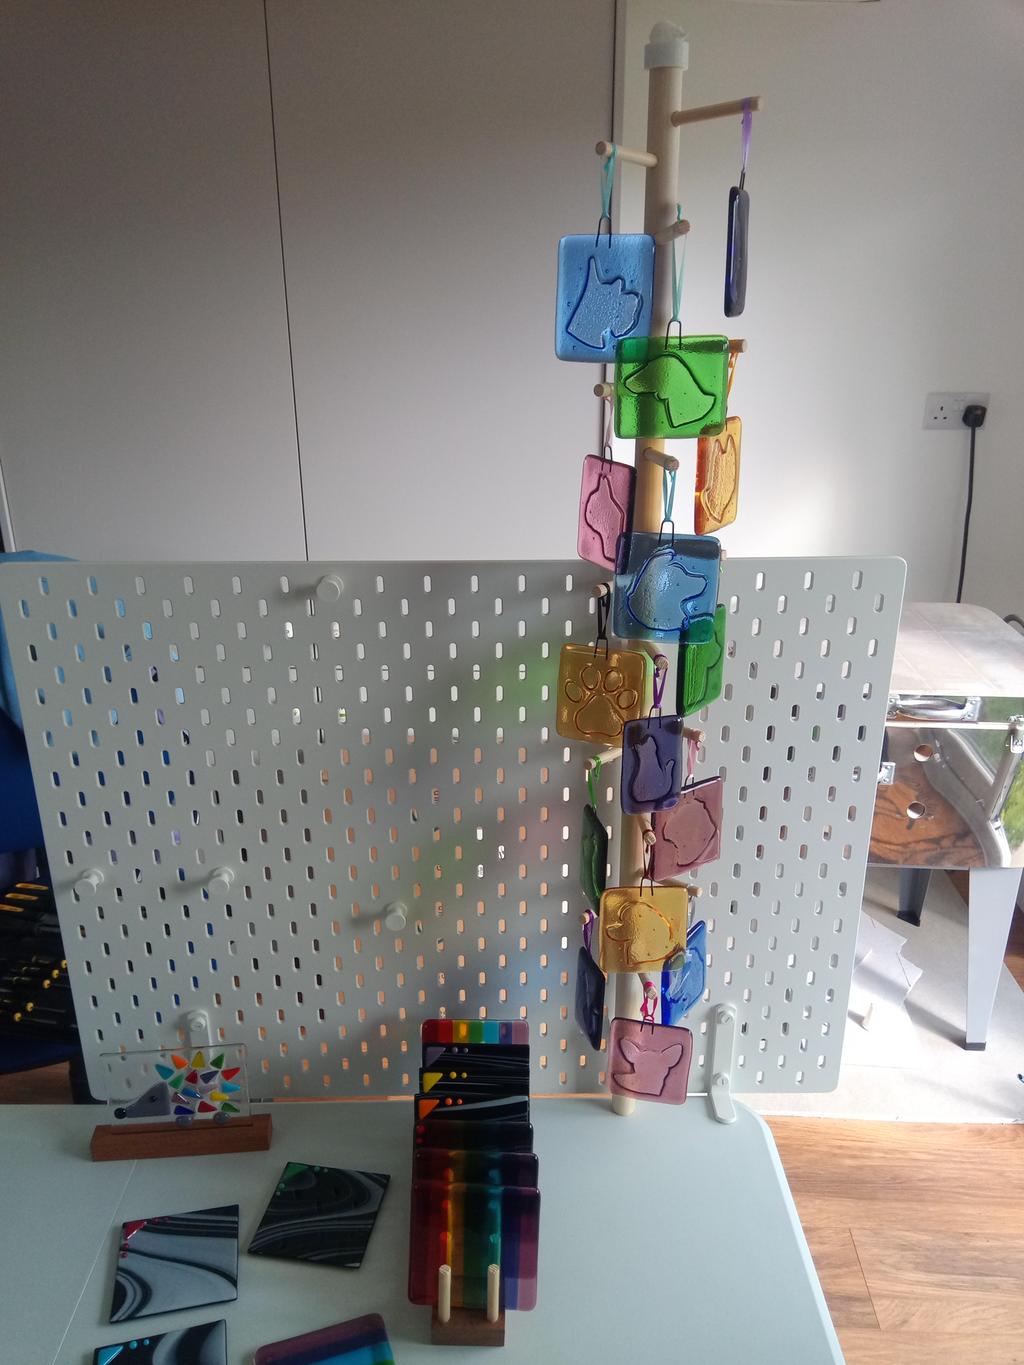 Then I bought a white pegboard which clamps onto the back of the table, to display larger pieces of hanging artwork, and a simple plate rack for ‘spares’ which didn’t have space to hang. The plate rack inspired me to make a smaller version to display some of my coasters - particularly the black and white ones, which don’t stack nicely because of their raised design in one corner.
The sun catchers proved more of a conundrum - I wanted something like a mug tree, but bigger (because I had far more than six different breeds of dog to display) - so I ended up buying a broom handle and a length of dowel and fashioning a “dog tree” which was over a metre tall! It clamped onto the peg board, and all of the dogs faced forwards (ish) - it worked really well in the end.
The final display stand was an old plate stand I borrowed for the chess board - then, with trinket dishes and other coasters taking up the remaining horizontal space, it was ready to go.
On the day, I was positioned in a room with about eight other vendors. (There were more like 60 stalls in total, spread among other rooms and marquees in the extensive grounds.) It was beautifully sunny and they’d been advertising that visitors could bring a picnic and make a day of it. The morning began with a flurry of activity, and lots of people made positive comments about my work throughout the day. By the end, I think every single piece had received a compliment from at least one person, and I reckon I made a similar value of sales to the other stalls in the room.
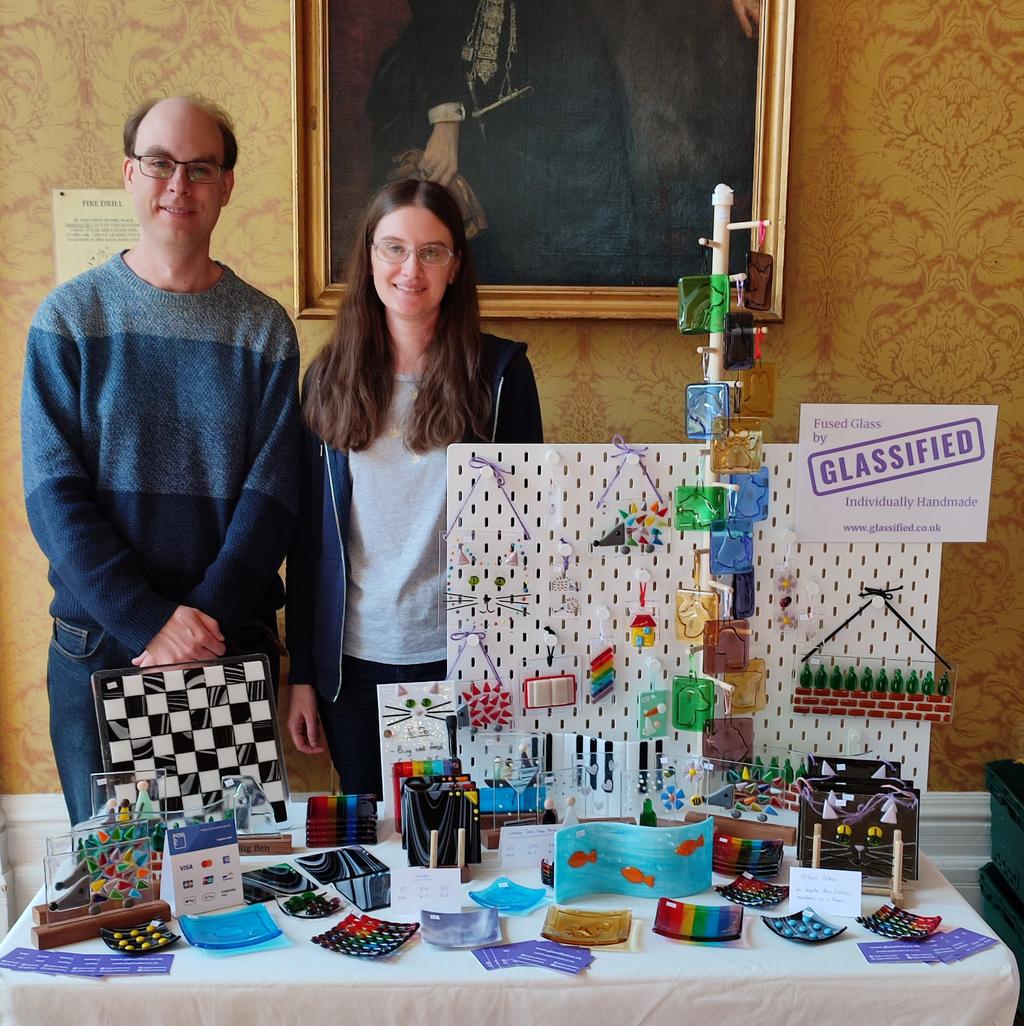
So would I do it again? Well, I’d still prefer to sell online, but I will do more craft fairs if I have to. It wasn’t that bad.
3D Printing
A 3D printer might not seem like the most likely piece of equipment for a fused glass studio, but it keeps proving its worth in surprising ways! It’s my husband’s machine really, so the conversation goes something like “Please can you print me a [weird and wonderful object that I’ve just dreamt up]?” and he says “Yes, of course, dear” (I wish). Designing objects and creating the code for the 3D printer is a whole skill in its own right, but between us we’ve got pretty good spatial awareness and understanding of mathematical constructs, so we’re getting there. We can print our way out of so many holes these days.
So here are a few ways in which we’ve used a 3D printer for glass fusing…
1. Frit funnels
“Frit” is essentially crushed glass - it’s available in different grades of coarseness and all sorts of colours (basically, any colour that the sheet glass is available in). Some people scatter it around their fused glass scenes, to great effect - but that’s not my style. I like to use it to form delicate shapes, like the fifteen soft hearts on my anniversary hedgehog piece or the neat little faces for my tiny dainty hedgehogs.
I think most people’s solution to this would be to use stencils, but they seem messy and wasteful to me (though maybe that’s just my technique!). So we printed these dinky little funnels in different shapes - then I sprinkle a small amount of frit in using a teaspoon, carefully lift the funnel et voilà! Just don’t sneeze on the way to the kiln, or the powder will go everywhere!
-
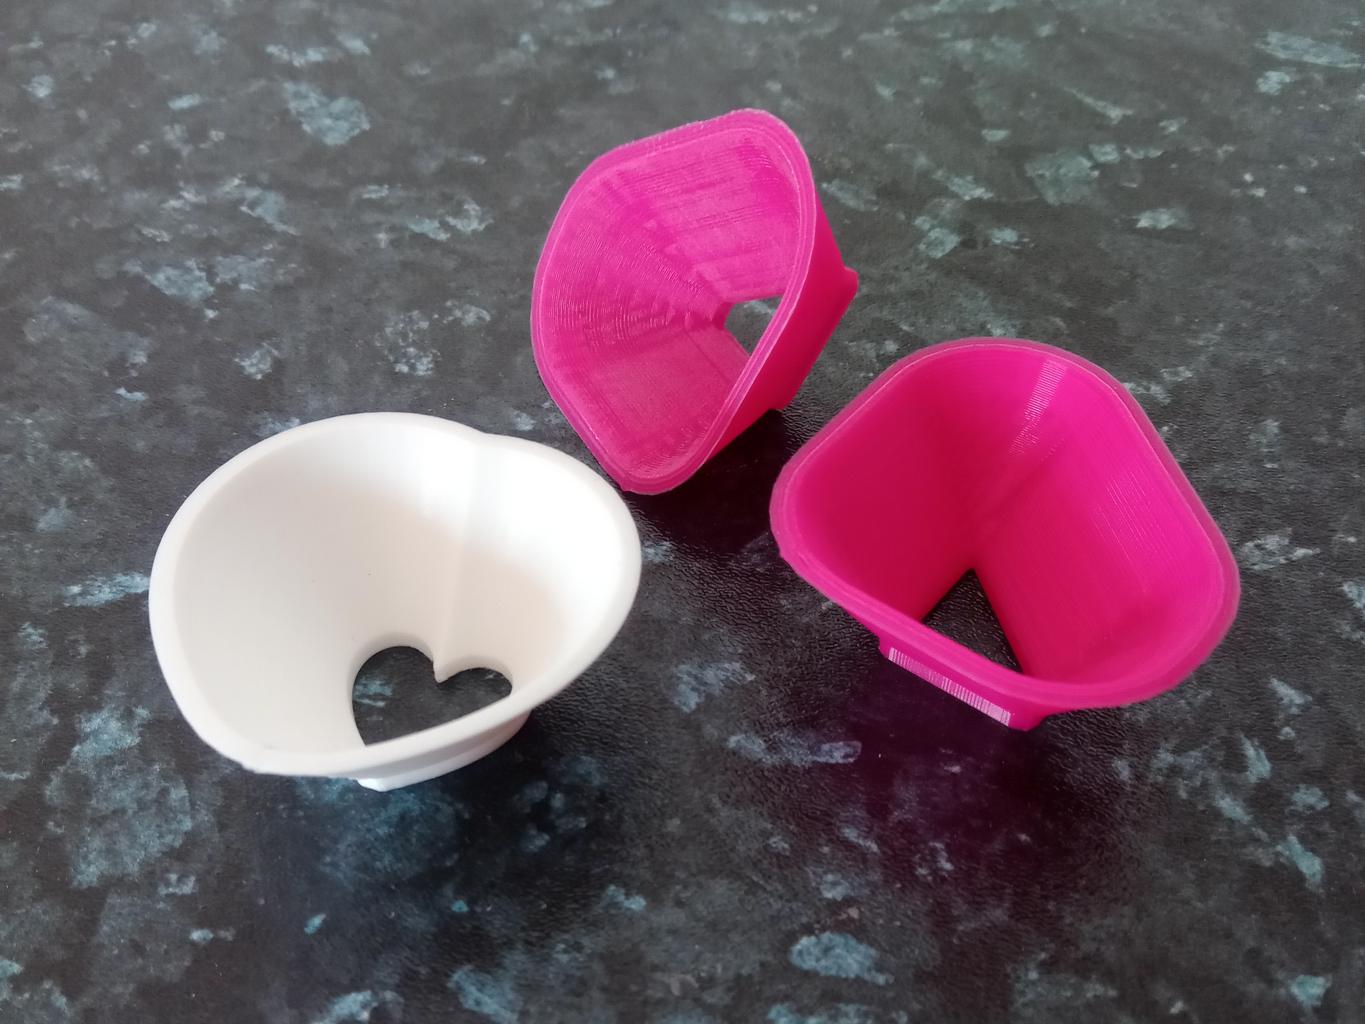
A selection of 3D-printed frit funnels for hedgehog faces and hearts
-
15 delicate pink hearts, formed of medium grade frit using our heart-shaped funnel
-
Dainty grey faces on these cute little hedgehogs, formed of frit powder using triangular funnels
2. Clamps for the CNC machine
The CNC machine is another of my husband’s toys, and I find it’s useful for cutting grooves in wooden stands for my pieces of glass. (It also has a laser attachment for personalising the wooden stands, but that’s not really the point here.)
The thing is, you need to clamp the wood down pretty firmly when you’re milling a slot in it - but I didn’t want huge amounts of unused wood each side of the slot otherwise it would be overwhelmingly wide. So we designed these bespoke little clamps which hold the wood firmly in place while keeping out of the way of the gubbins doing the actual slot-cutting.
Then we realised that it would be good if the slots were angled slightly, so that the glass leans back gently in its stand. (It’s more aesthetically pleasing that way.) But this is a fairly basic CNC machine and can’t do angles like that, so we printed some additional little wedges which go underneath the wood and the clamps. Another problem solved!
-
A wooden stand, clamped securely in place with a bespoke 3D-printed clamp
-
A version with the slope underneath the clamp, to create an angled slot
-
The complete collection of clamps and bits we've printed for the CNC machine (so far)
3. Chess pieces
Another unlikely-sounding requirement for glass fusing! I’d made a fused glass chess board, but I needed to take photos of it with chess pieces in place. Our only chess sets were (1) a huge fancy red and blue set with pieces based on characters from Greek mythology, which would have completely distracted the viewer from the glass chess board; or (2) cheap little plastic discs with symbols of the pieces printed on the top, from a “100-in-1 games” set.
So we printed a set. Our aim was to go for something that was interesting but not too distracting - we looked through the many free online libraries of 3D printing templates and chose this quirky hexagonal set, which I think does the job nicely. And as a bonus, it means we’ve now got a better chess set for teaching our 8-year-old how to play!
-
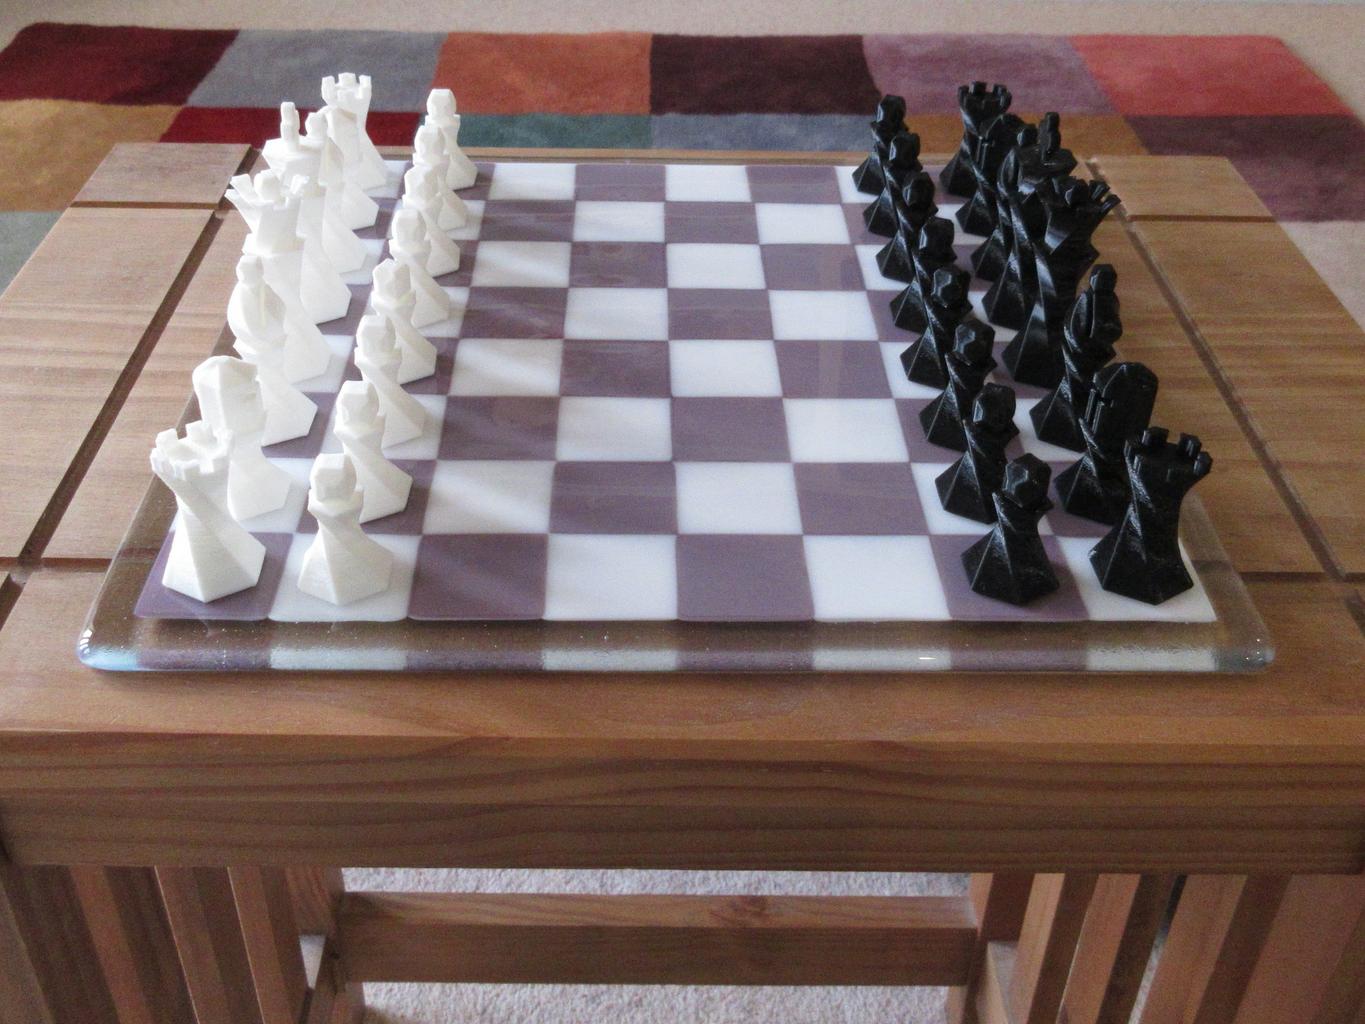
The chess set, ready for a game
-
The chess pieces didn't steal the show, but they did show off their reflections in the glass
4. Displays for craft fairs
I’ve written before about displaying my glass at my first craft fair, but the 3D printer only played a small part in that first display (and somehow didn’t get a mention in my blog post at all).
The dog tree, which I wrote about before, is basically a wooden construction (made of a broom handle and a long length of dowel), but the brackets that attach it to my pegboard are… you’ve guessed it, bespoke 3D printed brackets. The actual clamping part is done by a nut, bolt and large washer - but the bespoke plastic part holds the whole thing vertical (without having to take any weight, because the table does that). And there’s a cute little 3D-printed hedgehog topper as well, just for fun!
Then came along a display board for little magnets. I searched the internet, but magnetic displays all seem incredibly expensive! Ideally I’d have liked one of those rotating triangular prisms (like an upright Toblerone box), but they were out of the question. So I borrowed a little magnetic whiteboard from one of my son’s toys and we printed it a stand. The stand needed to hold the board quite firmly, so that the whole thing didn’t fly off when someone tried to remove a magnet - so we purposely made it a snug fit and angled it backwards quite a long way. Bingo!
My last item in this category (so far, at least) is based on the concept of a “floral grid” for flower arranging. I wanted to display my little Plant Pot Friends in a plant pot, and I wanted them to be separated from each other rather than all ending up in a heap at the back. I thought about soil or sand (no, too messy) or polystyrene beads from a bean bag (too liable to fly off), but then a bit of web searching revealed this idea. It was quite fun deciding what size “petals” to put in the design - a balance between being small enough to hold each stake firmly, but big enough for them to fit in. (Yes, we could have gone for a boring square / triangular / hexagonal grid - but we didn’t.) With a few reused polystyrene packing peanuts in the bottom of the pot, each glass hedgehog now sits at a nice height and a slightly different angle to be displayed alongside its siblings.
-
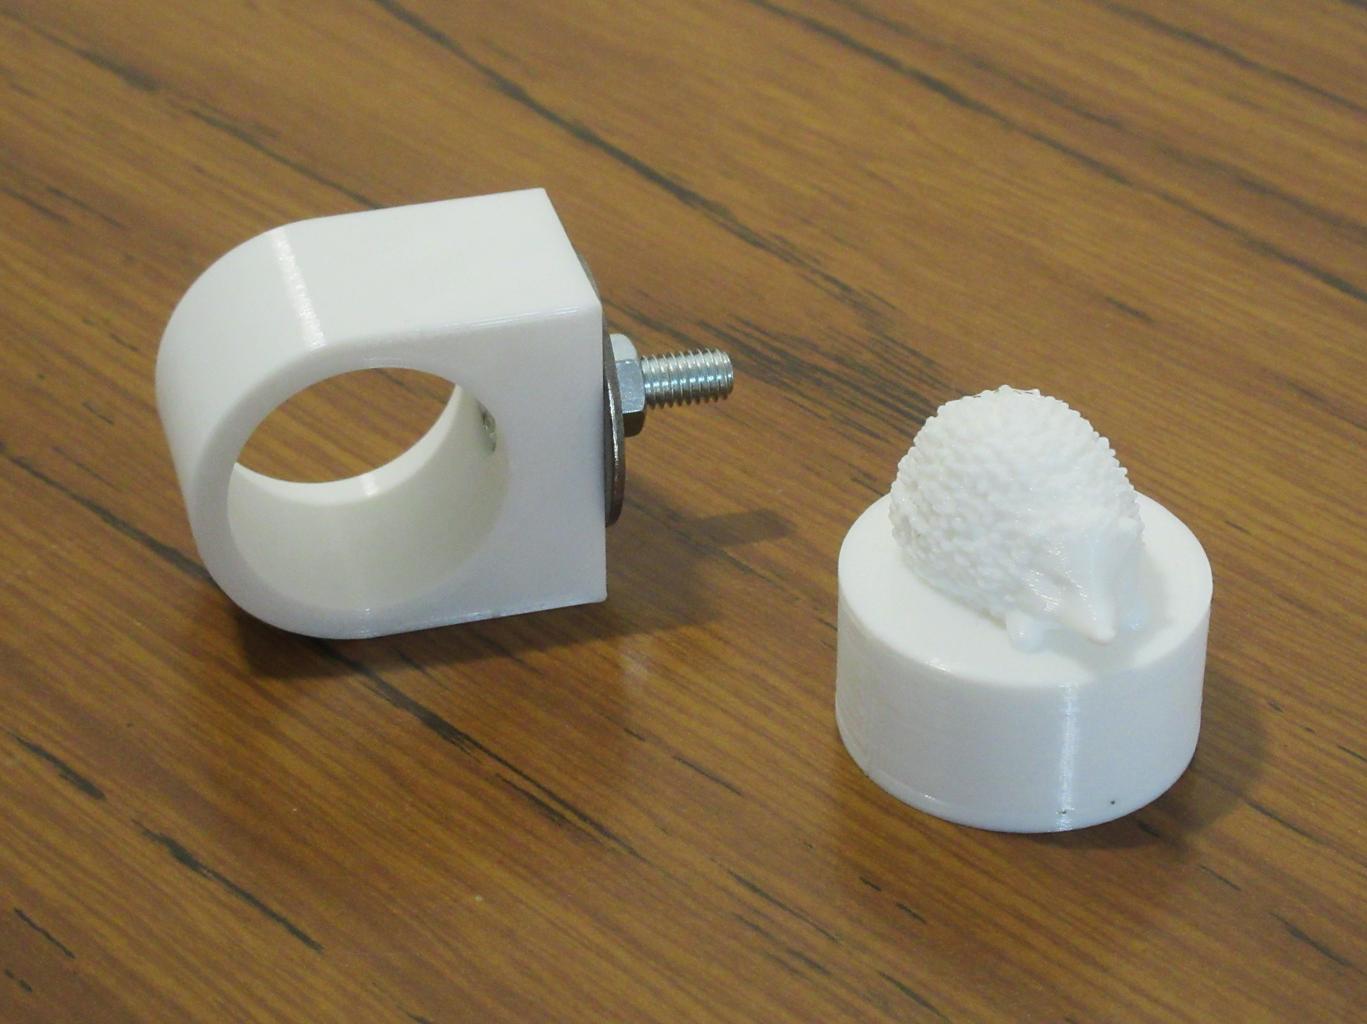
Dog tree bracket and hedgehog topper
-
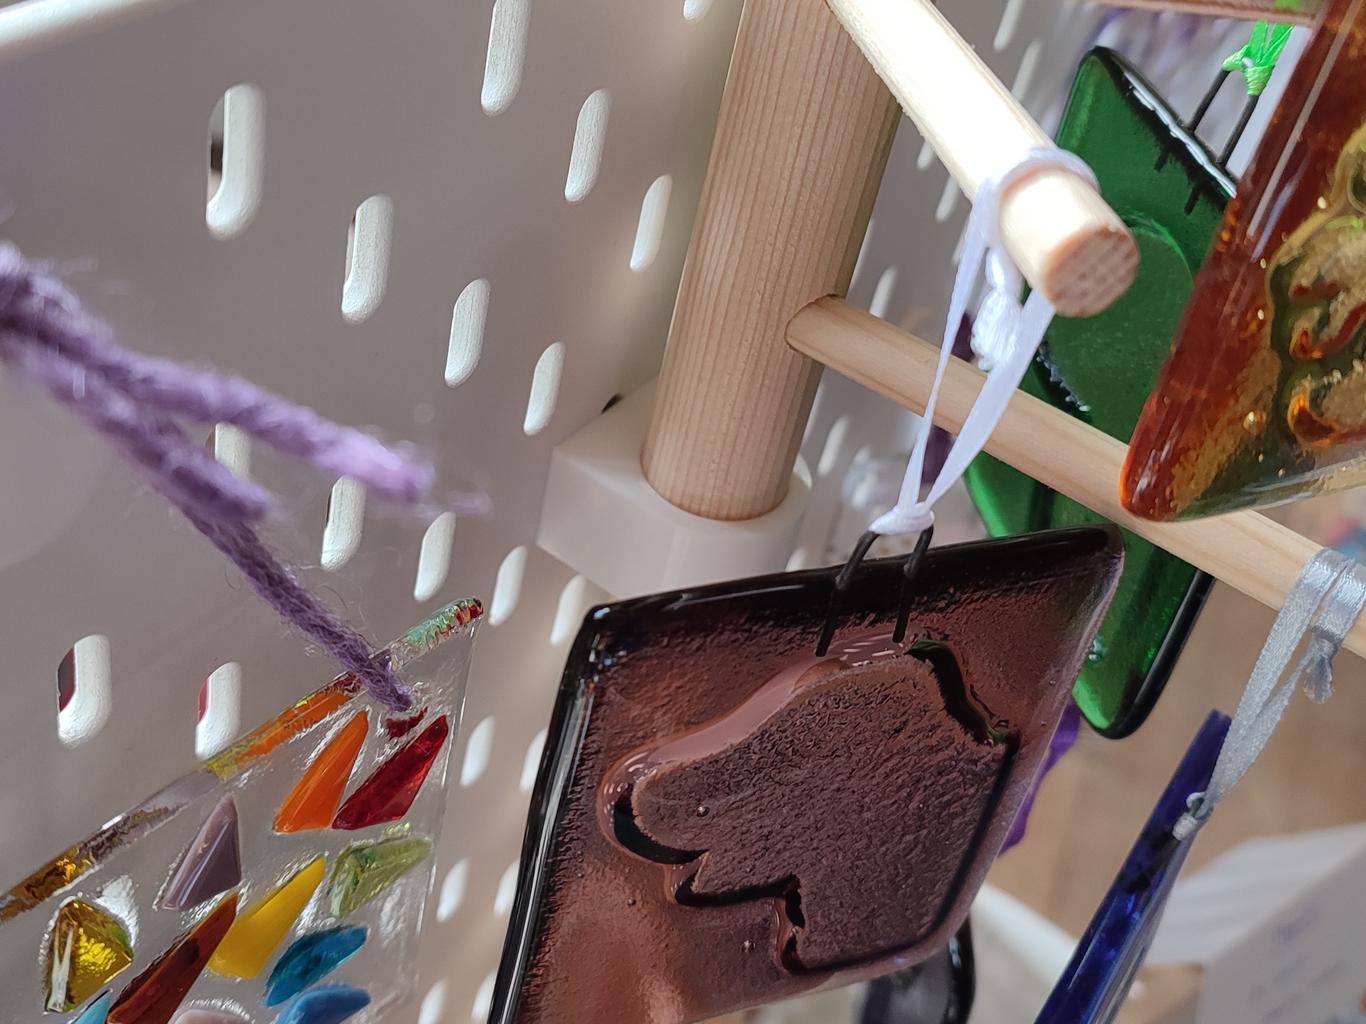
The dog tree bracket in action
-
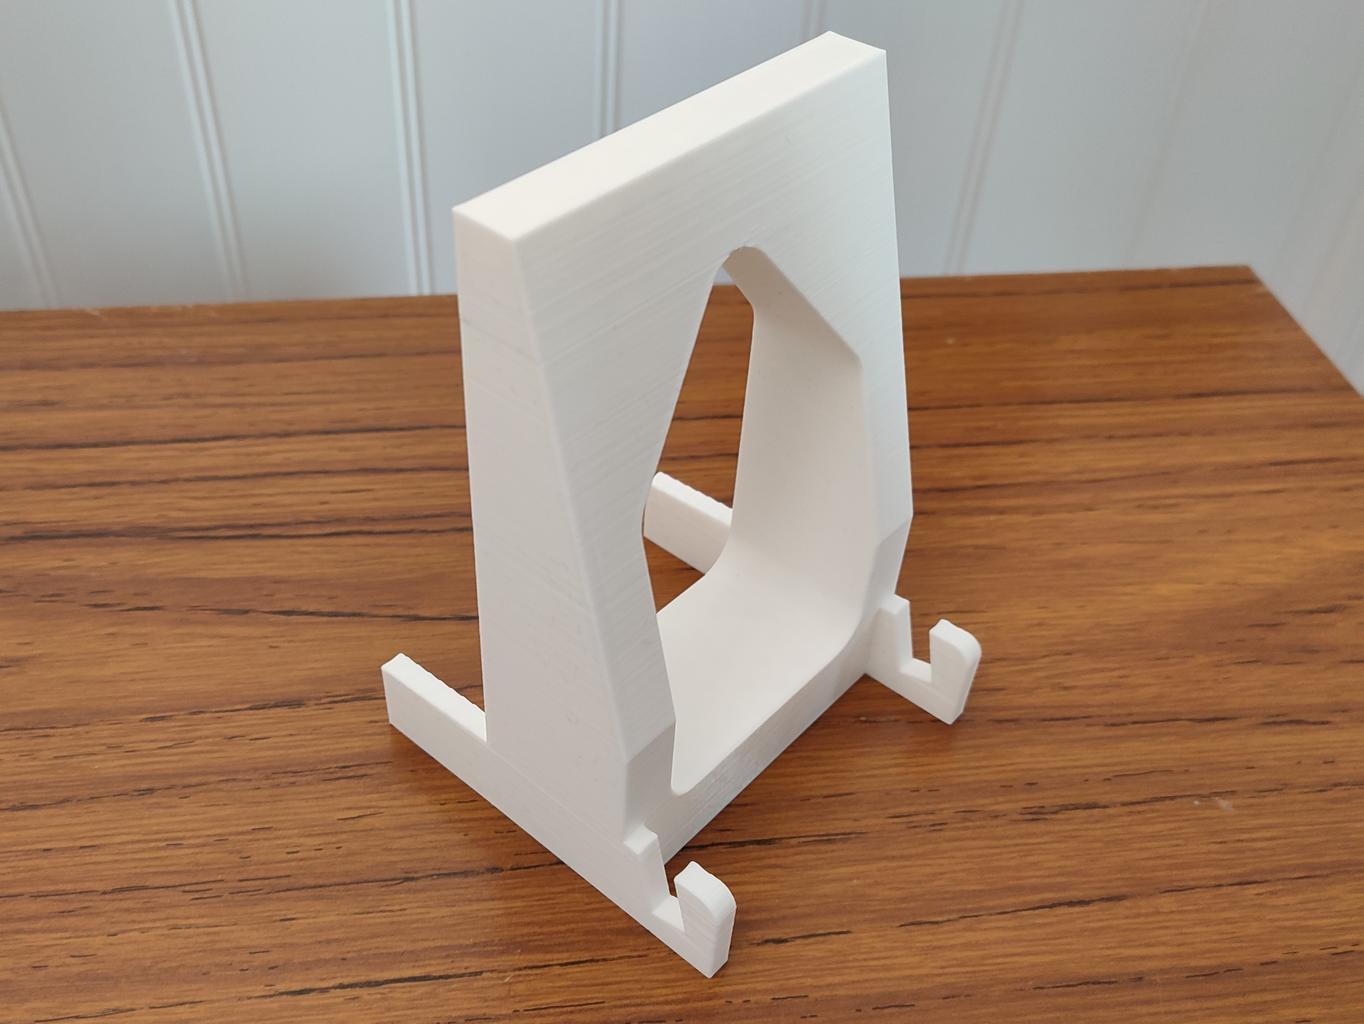
The stand for a magnetic display board
-
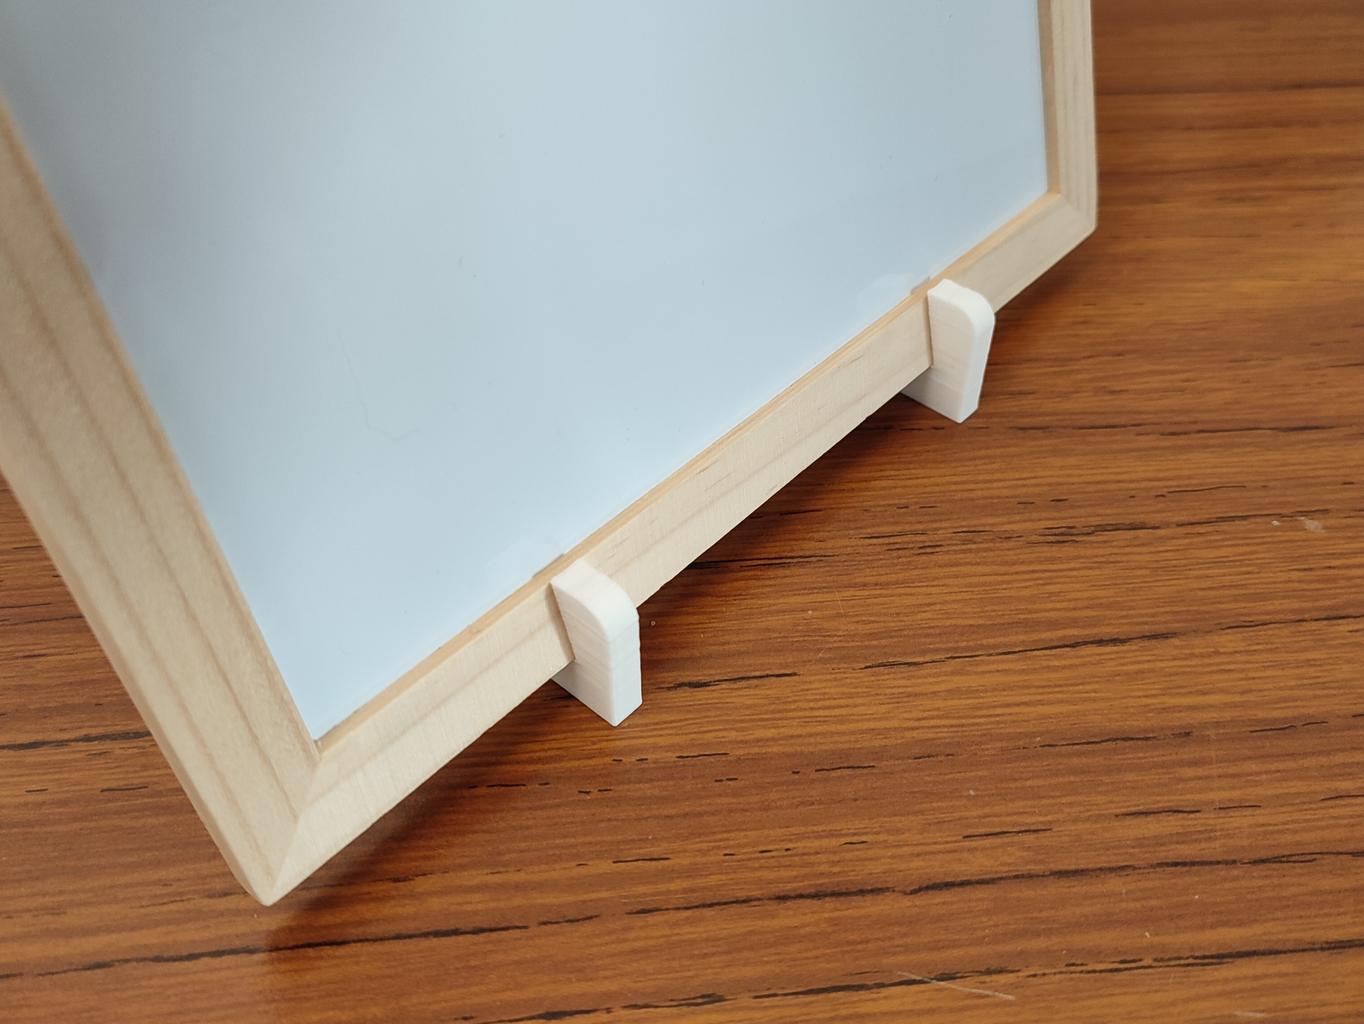
The display board stand in action
-
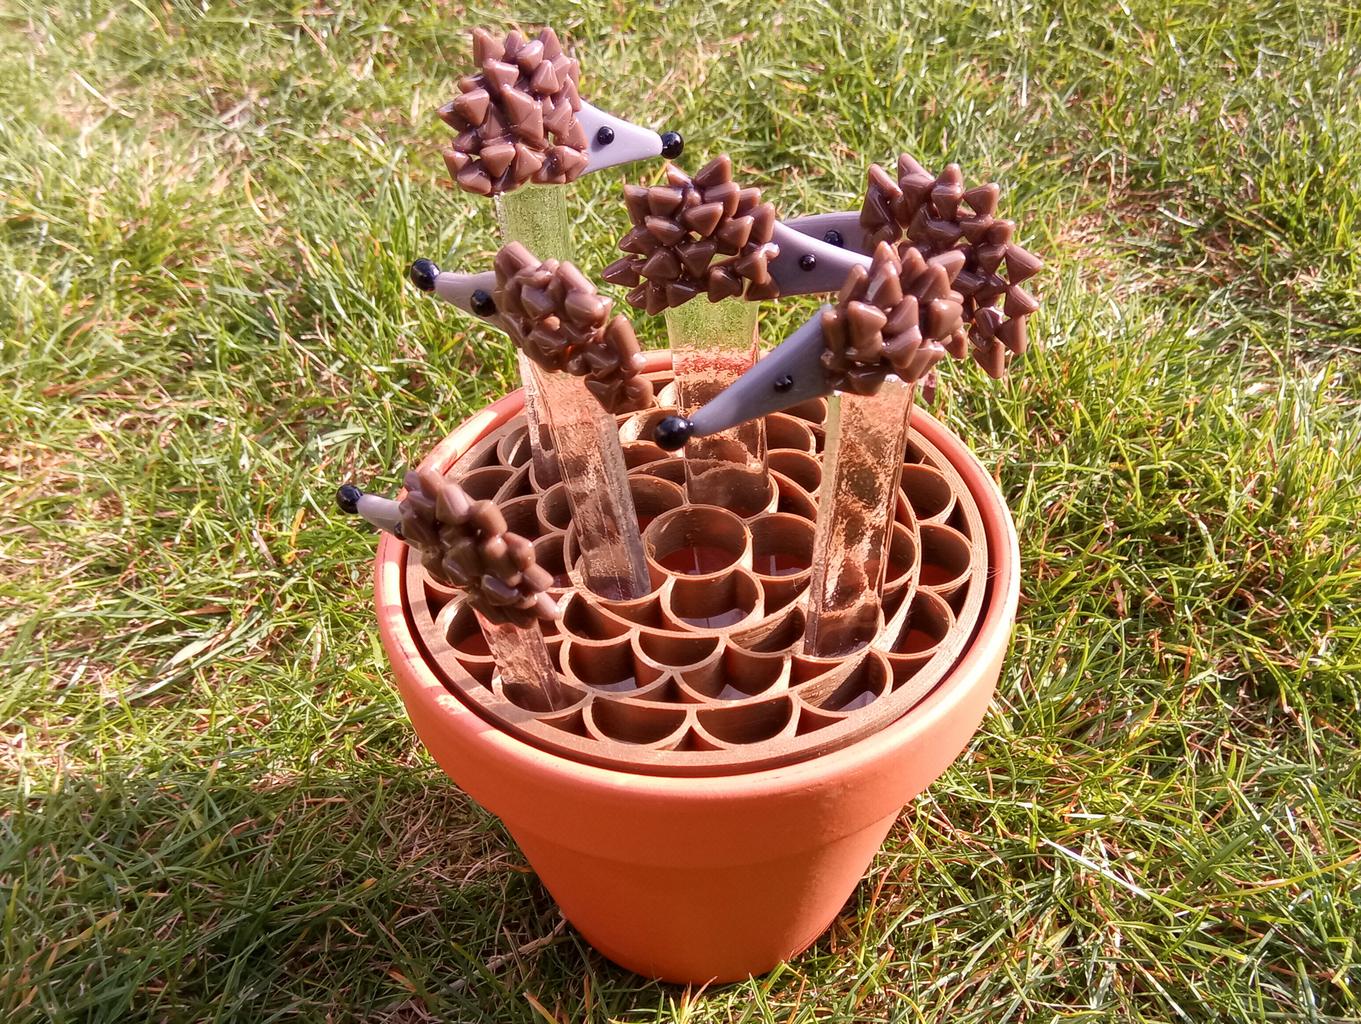
Plant pot friends divider
5. Case for card reader
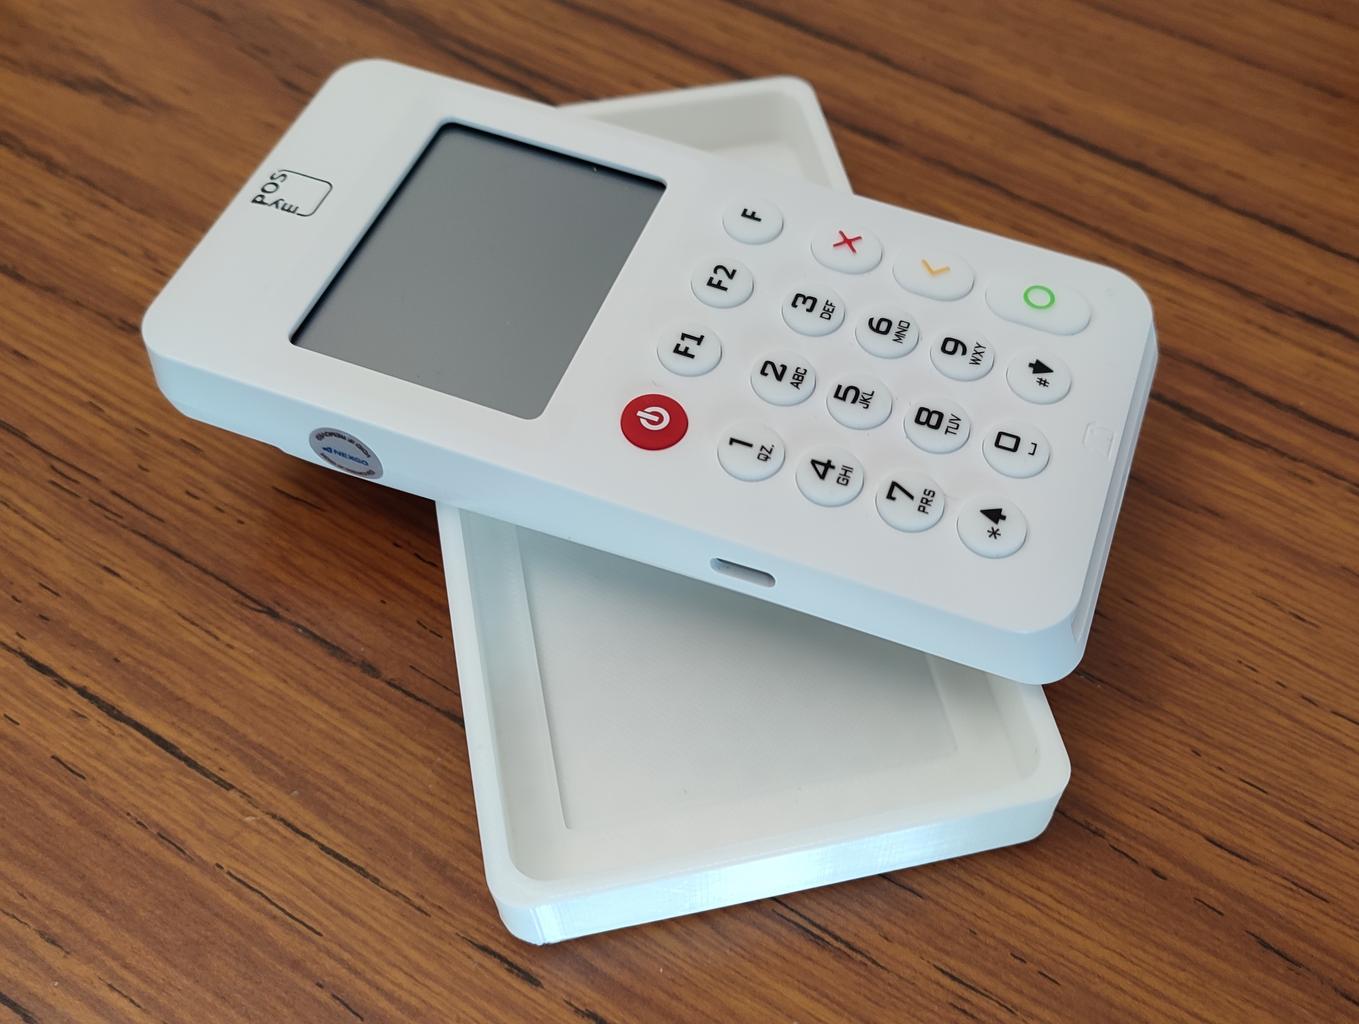
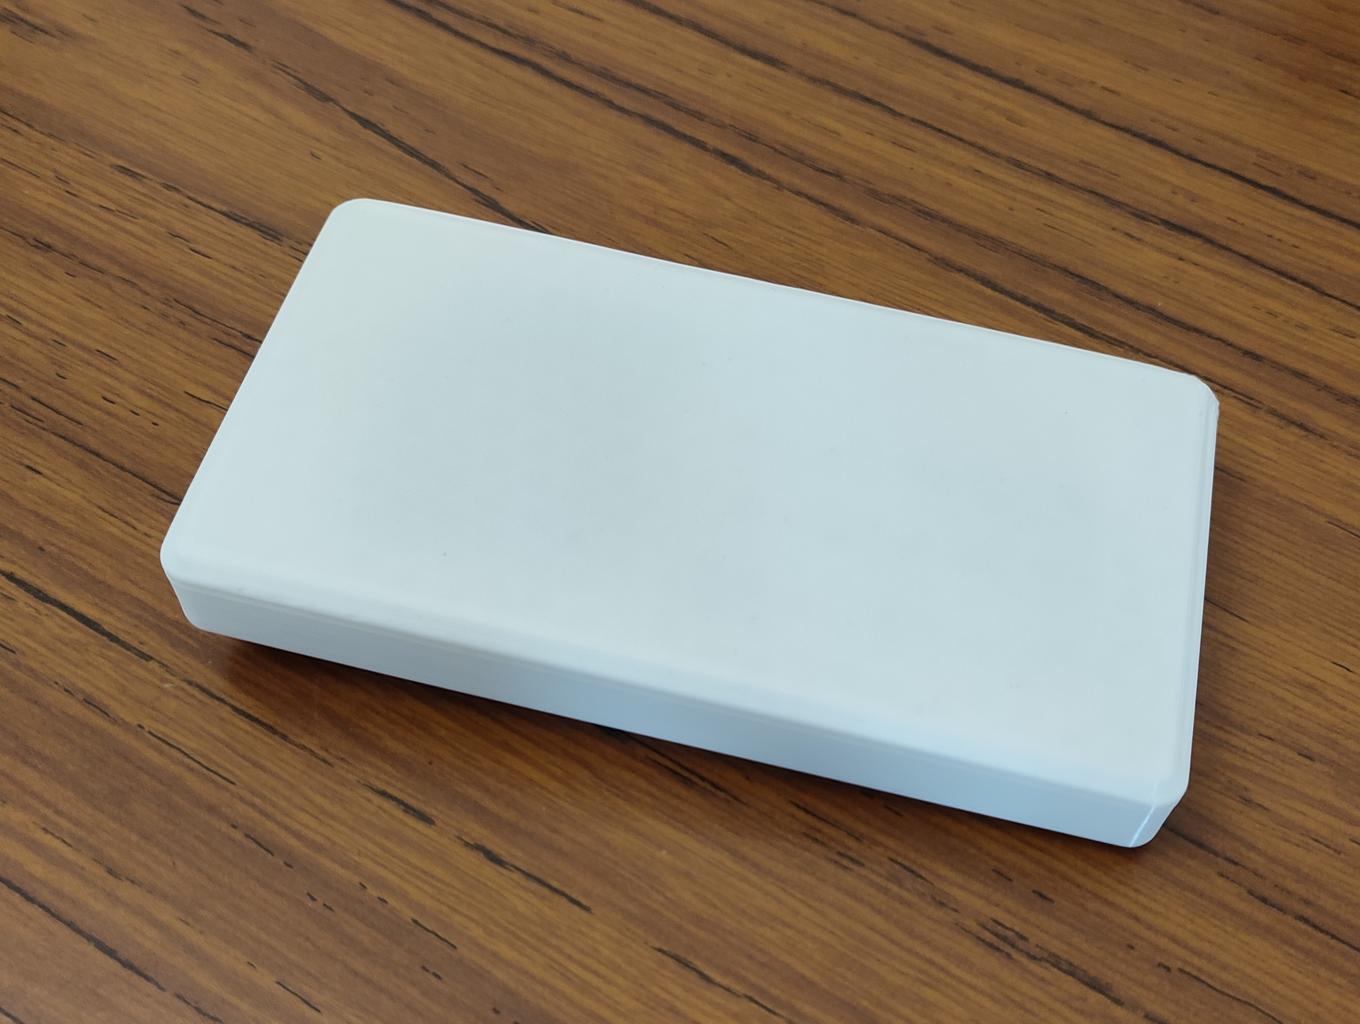
As well as displaying one’s wares to be successful at a craft fair, card readers are a must these days - most people want to pay by card. I chose a standalone card reader with its own keypad, because I didn’t want to have to rely on my (unreliable) phone for transactions - but I didn’t want buttons getting pressed by accident when it was in my bumbag between sales. So we printed it a little cover (a bit like my 1990’s school calculator) to protect the keypad. Simple and effective!
I wonder what we’ll need to print next!
Witches
This range is my second design collaboration with Clavis & Claustra. Witches!
These particular witches are flying on their broomsticks in a fused glass wall hanging. They usually wear a subtle black hat, but we’ve had limited edition purple and orange hats for a pop of colour too.
-
Classic witch with a black hat
-
Limited Edition witch with a purple hat
-
Limited Edition with with an orange hat
Head over to the Clavis & Claustra shop to purchase.
Watch this space for more collaborations with Clavis & Claustra!

Leave a Comment
0 Comments