3D Printing
A 3D printer might not seem like the most likely piece of equipment for a fused glass studio, but it keeps proving its worth in surprising ways! It’s my husband’s machine really, so the conversation goes something like “Please can you print me a [weird and wonderful object that I’ve just dreamt up]?” and he says “Yes, of course, dear” (I wish). Designing objects and creating the code for the 3D printer is a whole skill in its own right, but between us we’ve got pretty good spatial awareness and understanding of mathematical constructs, so we’re getting there. We can print our way out of so many holes these days.
So here are a few ways in which we’ve used a 3D printer for glass fusing…
1. Frit funnels
“Frit” is essentially crushed glass - it’s available in different grades of coarseness and all sorts of colours (basically, any colour that the sheet glass is available in). Some people scatter it around their fused glass scenes, to great effect - but that’s not my style. I like to use it to form delicate shapes, like the fifteen soft hearts on my anniversary hedgehog piece or the neat little faces for my tiny dainty hedgehogs.
I think most people’s solution to this would be to use stencils, but they seem messy and wasteful to me (though maybe that’s just my technique!). So we printed these dinky little funnels in different shapes - then I sprinkle a small amount of frit in using a teaspoon, carefully lift the funnel et voilà! Just don’t sneeze on the way to the kiln, or the powder will go everywhere!
-
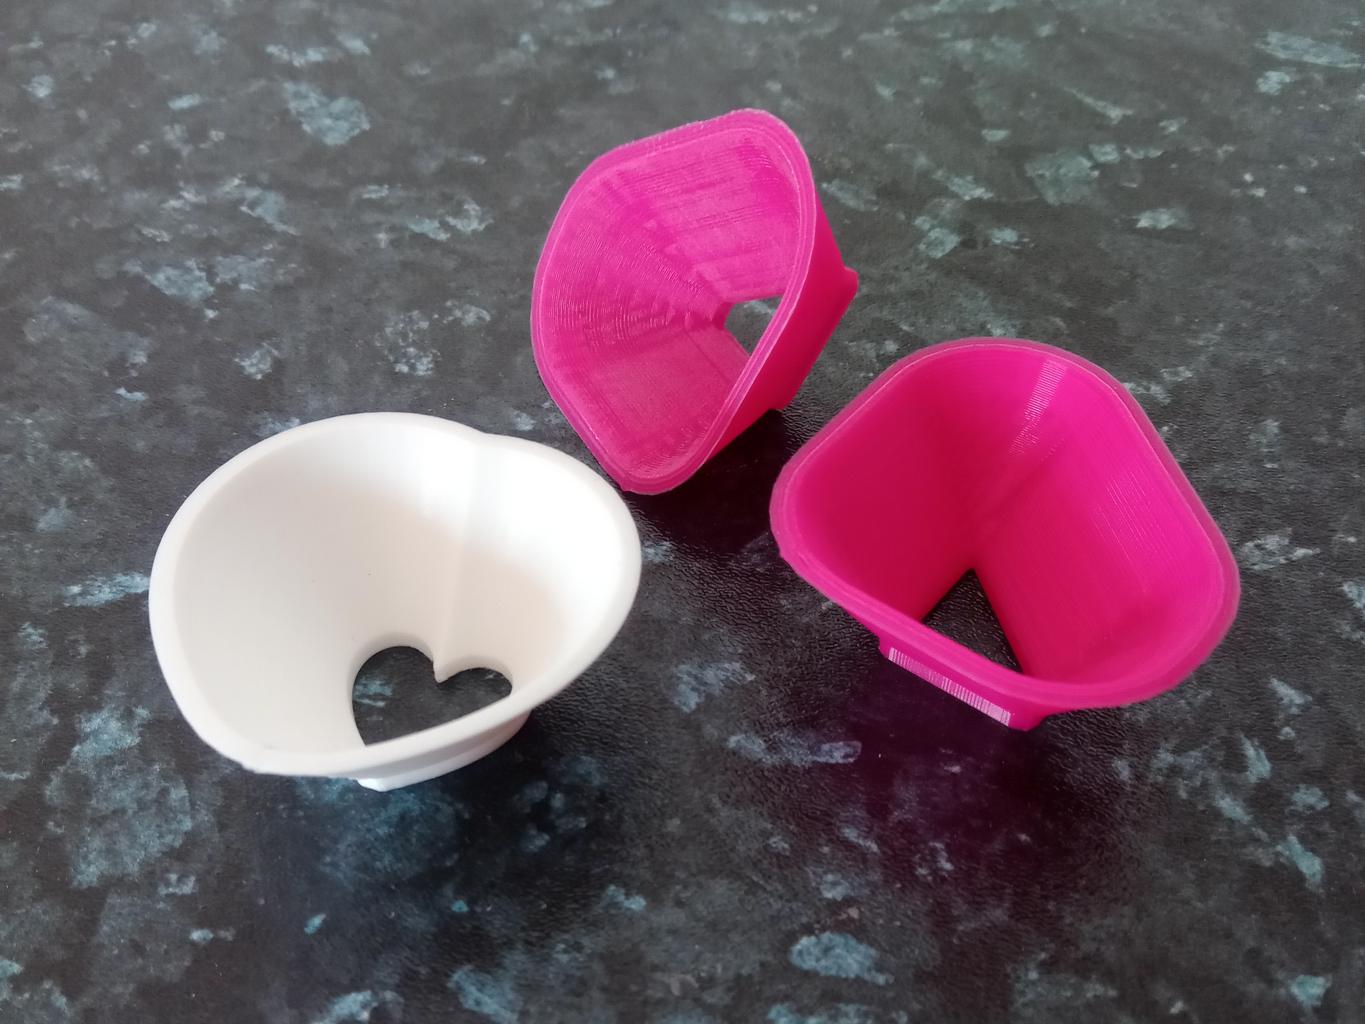
A selection of 3D-printed frit funnels for hedgehog faces and hearts
-
15 delicate pink hearts, formed of medium grade frit using our heart-shaped funnel
-
Dainty grey faces on these cute little hedgehogs, formed of frit powder using triangular funnels
2. Clamps for the CNC machine
The CNC machine is another of my husband’s toys, and I find it’s useful for cutting grooves in wooden stands for my pieces of glass. (It also has a laser attachment for personalising the wooden stands, but that’s not really the point here.)
The thing is, you need to clamp the wood down pretty firmly when you’re milling a slot in it - but I didn’t want huge amounts of unused wood each side of the slot otherwise it would be overwhelmingly wide. So we designed these bespoke little clamps which hold the wood firmly in place while keeping out of the way of the gubbins doing the actual slot-cutting.
Then we realised that it would be good if the slots were angled slightly, so that the glass leans back gently in its stand. (It’s more aesthetically pleasing that way.) But this is a fairly basic CNC machine and can’t do angles like that, so we printed some additional little wedges which go underneath the wood and the clamps. Another problem solved!
-
A wooden stand, clamped securely in place with a bespoke 3D-printed clamp
-
A version with the slope underneath the clamp, to create an angled slot
-
The complete collection of clamps and bits we've printed for the CNC machine (so far)
3. Chess pieces
Another unlikely-sounding requirement for glass fusing! I’d made a fused glass chess board, but I needed to take photos of it with chess pieces in place. Our only chess sets were (1) a huge fancy red and blue set with pieces based on characters from Greek mythology, which would have completely distracted the viewer from the glass chess board; or (2) cheap little plastic discs with symbols of the pieces printed on the top, from a “100-in-1 games” set.
So we printed a set. Our aim was to go for something that was interesting but not too distracting - we looked through the many free online libraries of 3D printing templates and chose this quirky hexagonal set, which I think does the job nicely. And as a bonus, it means we’ve now got a better chess set for teaching our 8-year-old how to play!
-
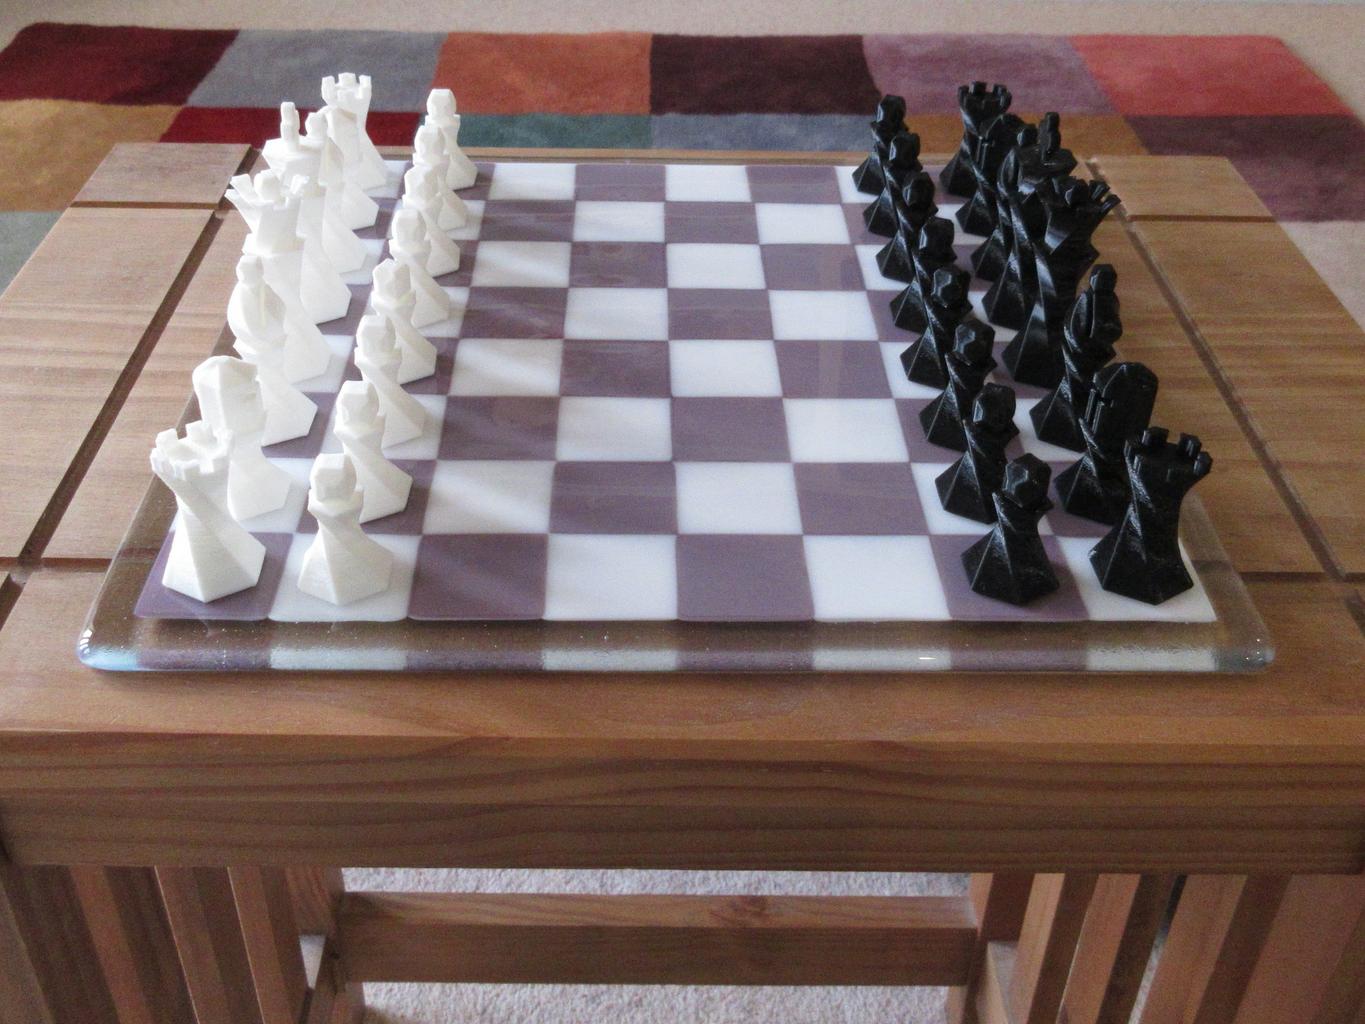
The chess set, ready for a game
-
The chess pieces didn't steal the show, but they did show off their reflections in the glass
4. Displays for craft fairs
I’ve written before about displaying my glass at my first craft fair, but the 3D printer only played a small part in that first display (and somehow didn’t get a mention in my blog post at all).
The dog tree, which I wrote about before, is basically a wooden construction (made of a broom handle and a long length of dowel), but the brackets that attach it to my pegboard are… you’ve guessed it, bespoke 3D printed brackets. The actual clamping part is done by a nut, bolt and large washer - but the bespoke plastic part holds the whole thing vertical (without having to take any weight, because the table does that). And there’s a cute little 3D-printed hedgehog topper as well, just for fun!
Then came along a display board for little magnets. I searched the internet, but magnetic displays all seem incredibly expensive! Ideally I’d have liked one of those rotating triangular prisms (like an upright Toblerone box), but they were out of the question. So I borrowed a little magnetic whiteboard from one of my son’s toys and we printed it a stand. The stand needed to hold the board quite firmly, so that the whole thing didn’t fly off when someone tried to remove a magnet - so we purposely made it a snug fit and angled it backwards quite a long way. Bingo!
My last item in this category (so far, at least) is based on the concept of a “floral grid” for flower arranging. I wanted to display my little Plant Pot Friends in a plant pot, and I wanted them to be separated from each other rather than all ending up in a heap at the back. I thought about soil or sand (no, too messy) or polystyrene beads from a bean bag (too liable to fly off), but then a bit of web searching revealed this idea. It was quite fun deciding what size “petals” to put in the design - a balance between being small enough to hold each stake firmly, but big enough for them to fit in. (Yes, we could have gone for a boring square / triangular / hexagonal grid - but we didn’t.) With a few reused polystyrene packing peanuts in the bottom of the pot, each glass hedgehog now sits at a nice height and a slightly different angle to be displayed alongside its siblings.
-
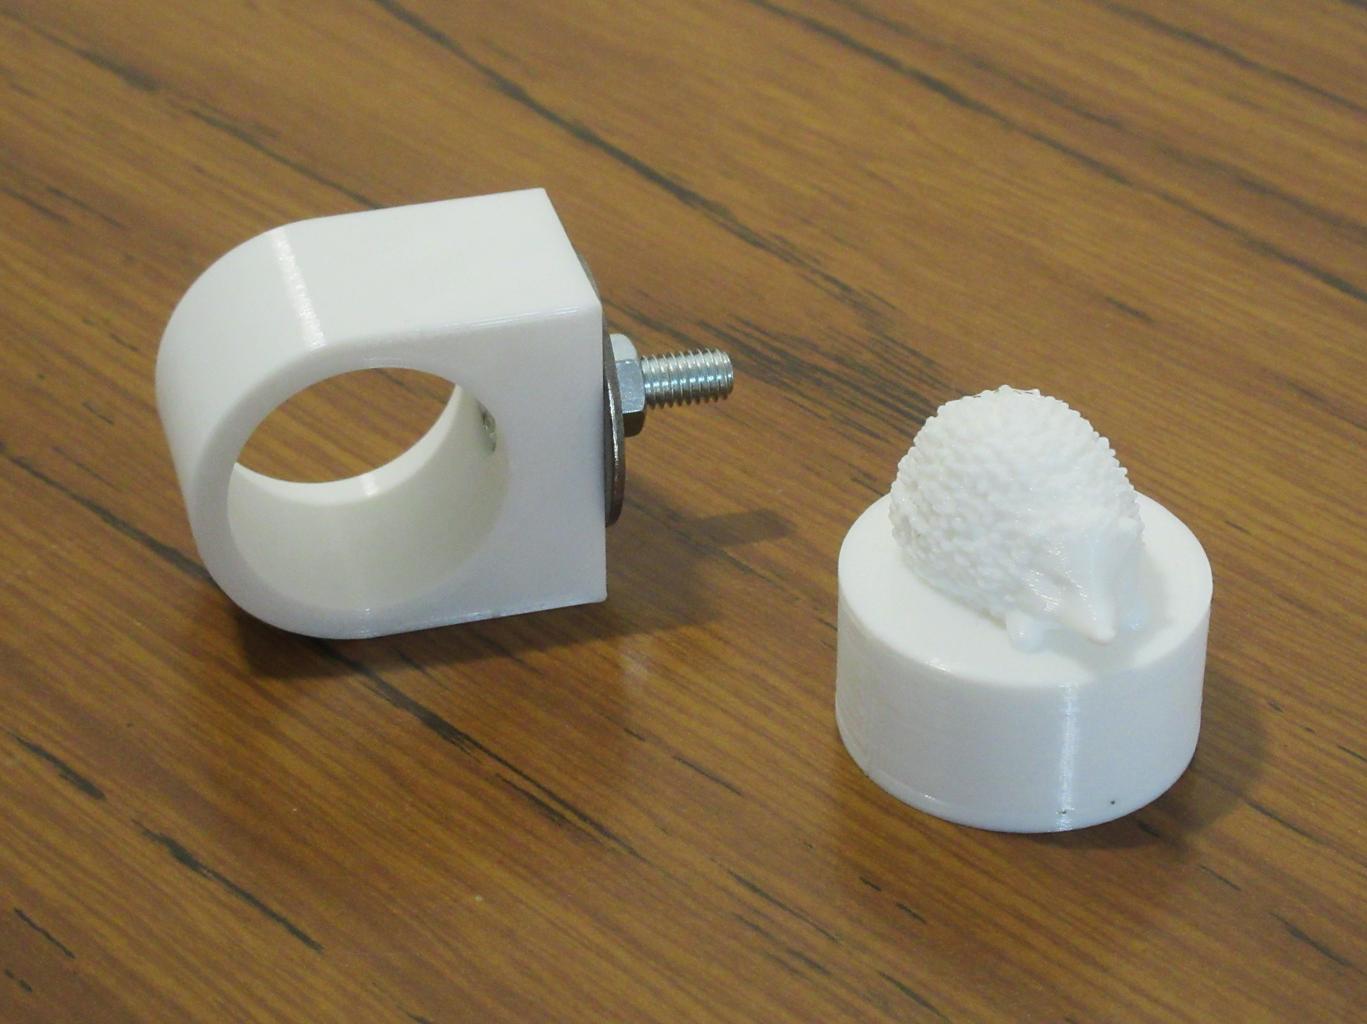
Dog tree bracket and hedgehog topper
-
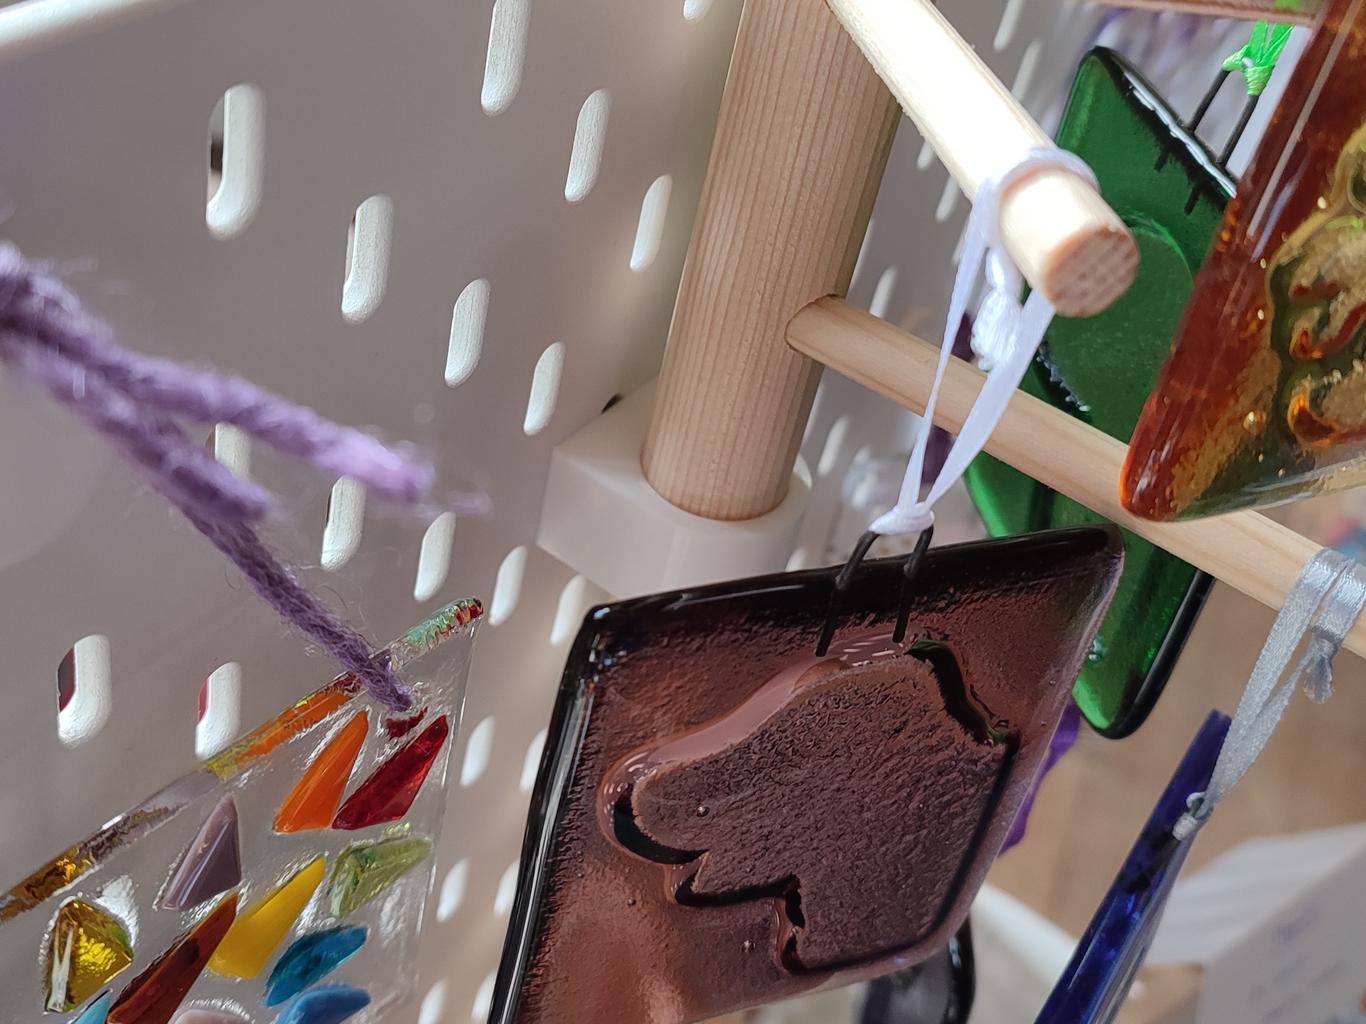
The dog tree bracket in action
-
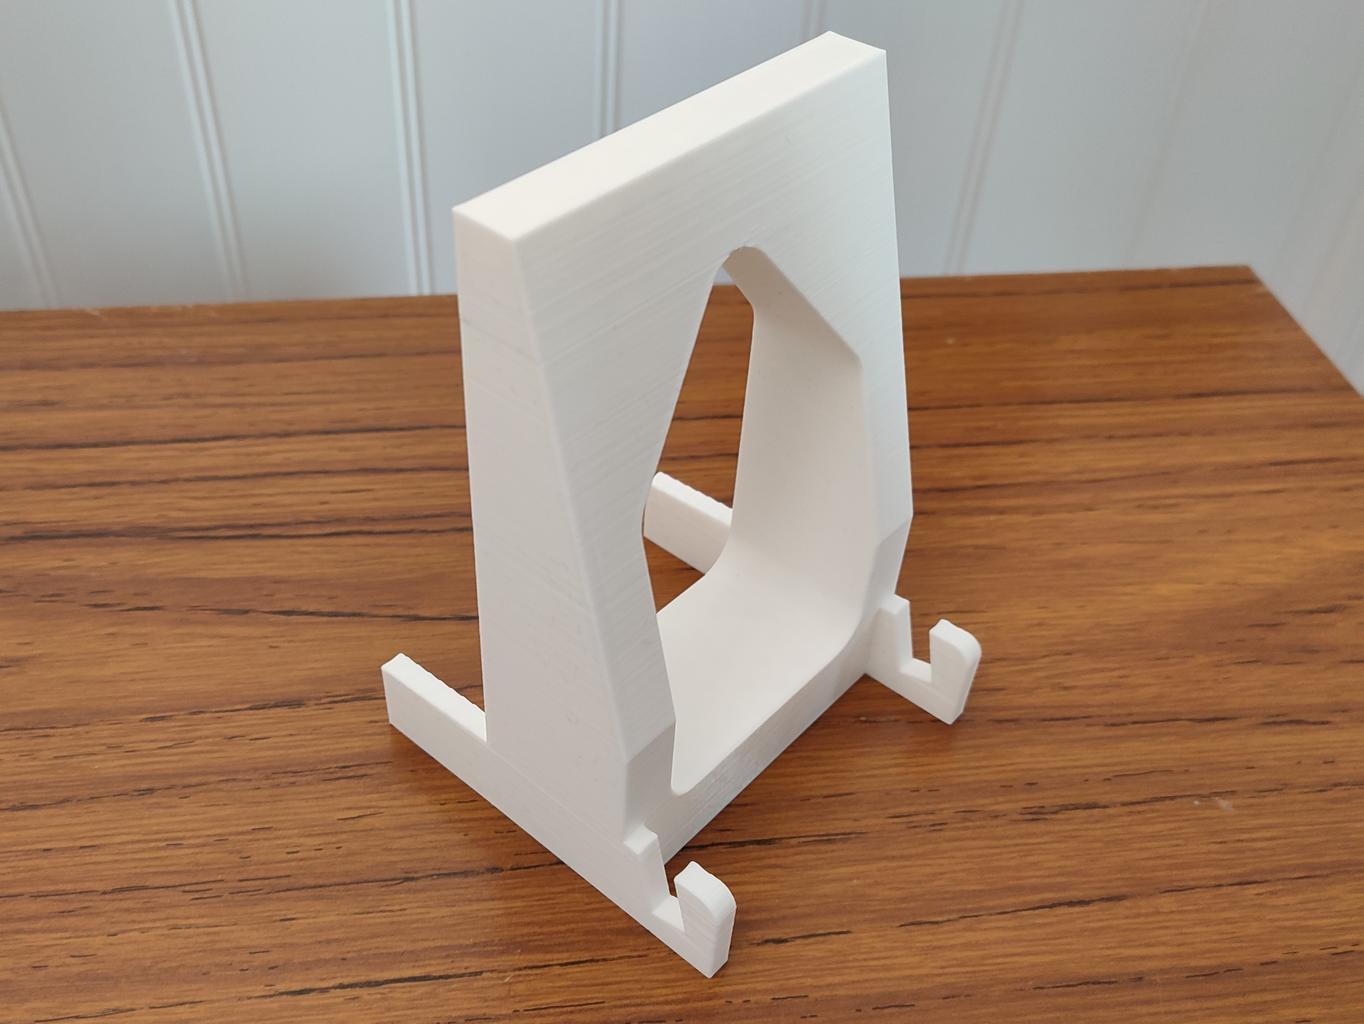
The stand for a magnetic display board
-
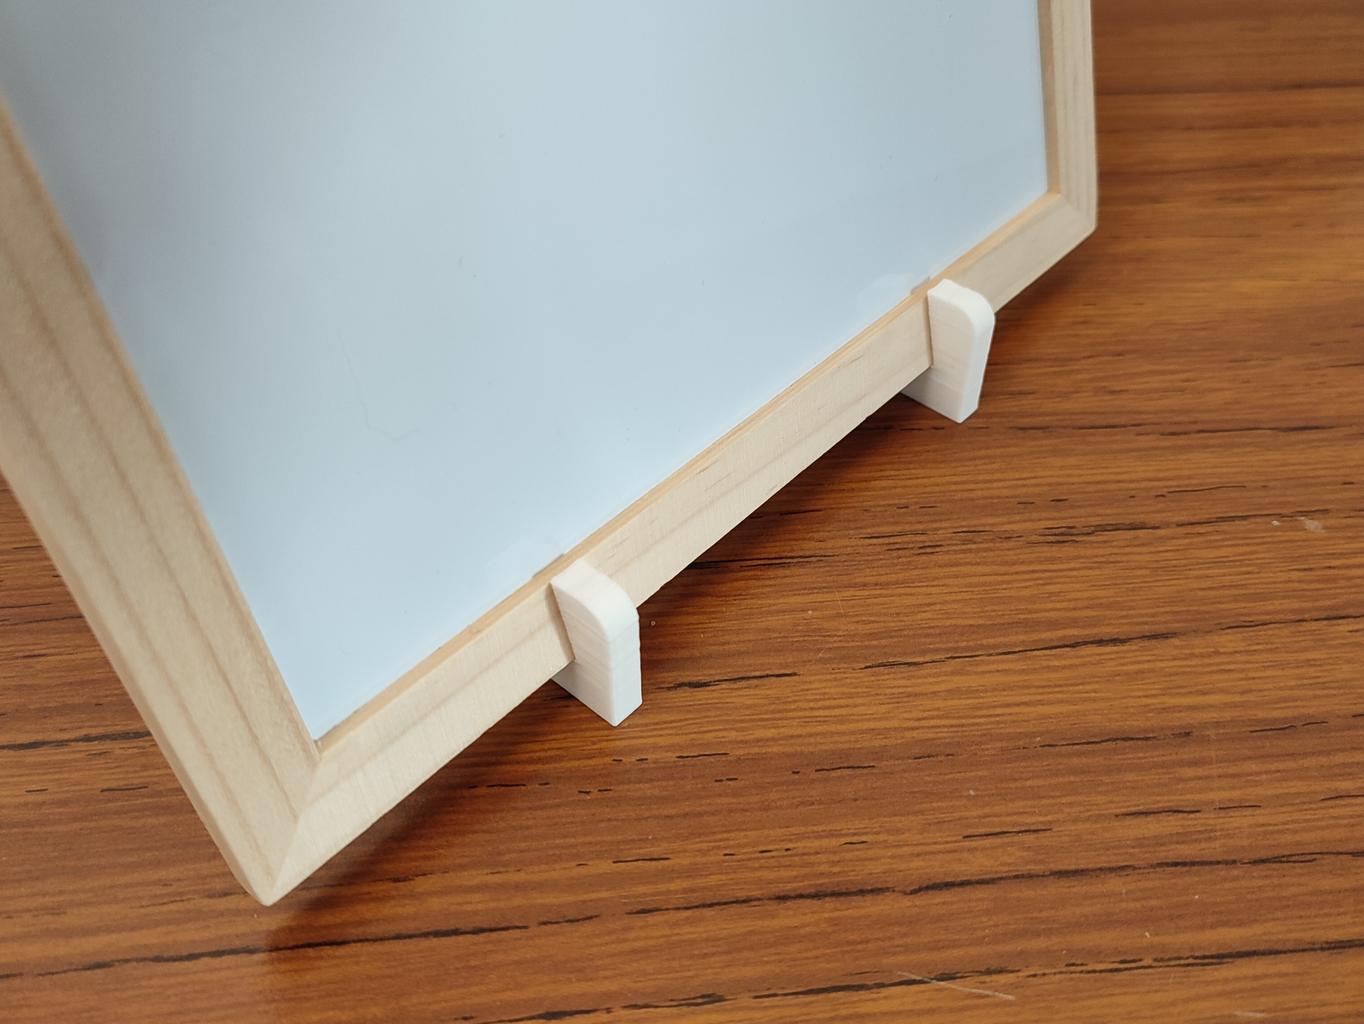
The display board stand in action
-
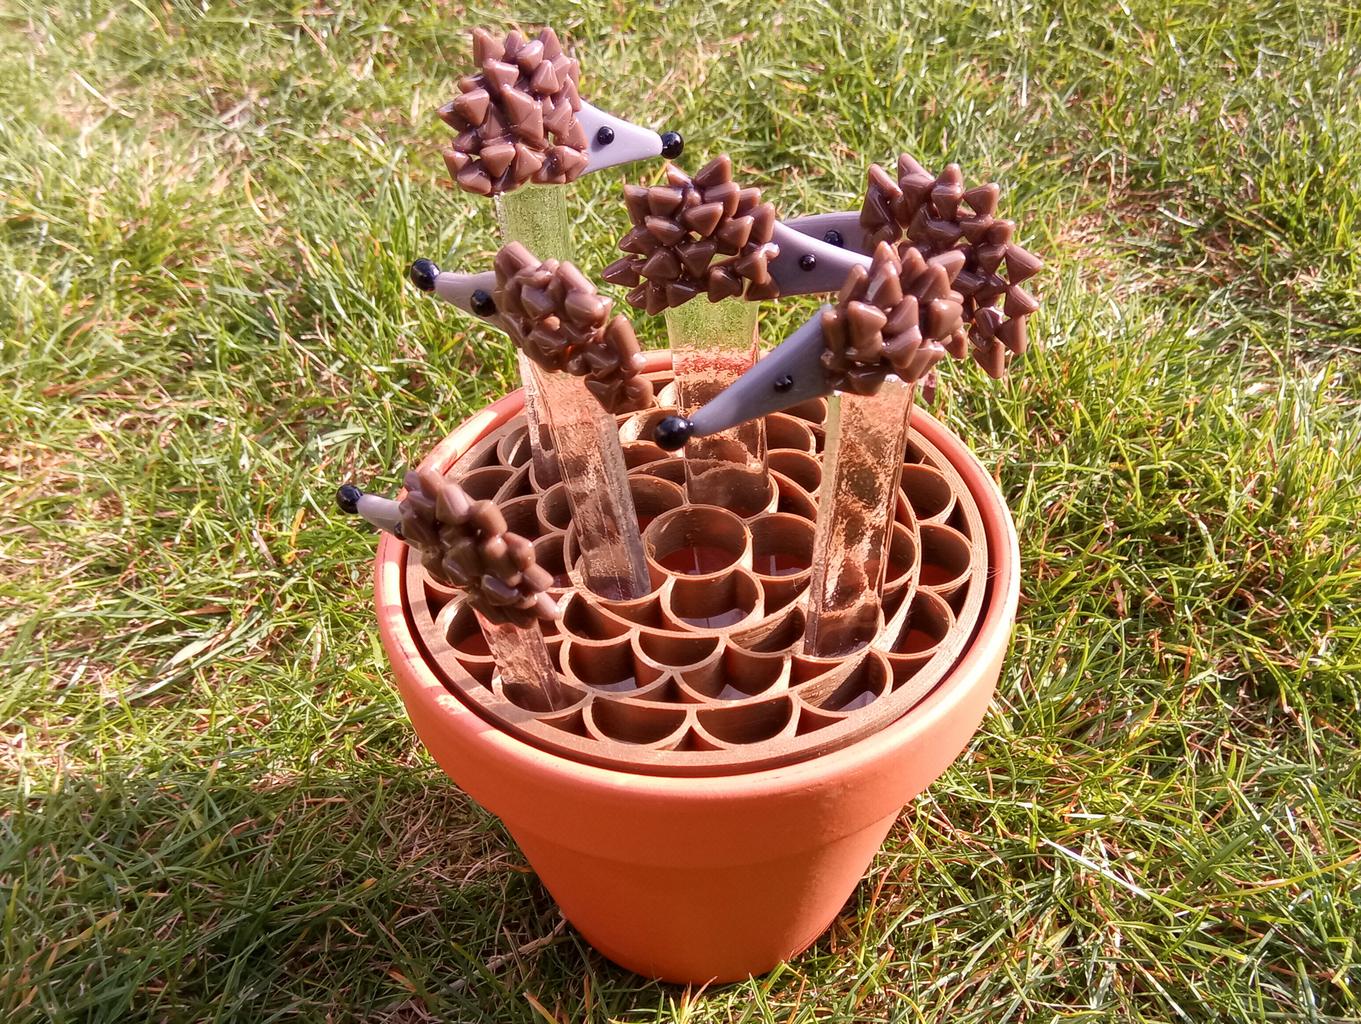
Plant pot friends divider
5. Case for card reader
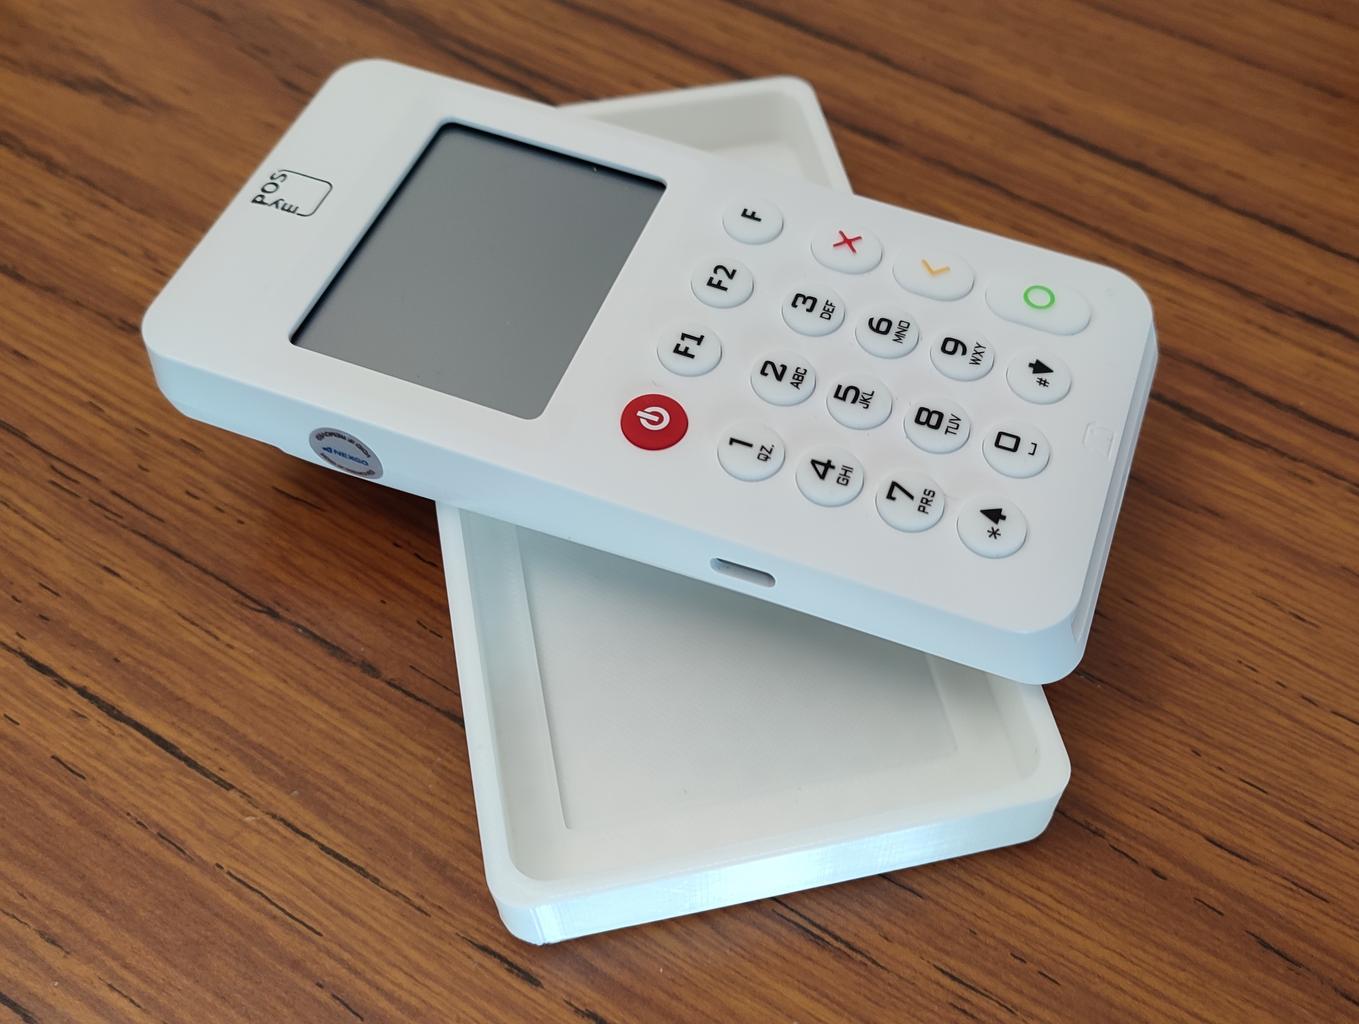
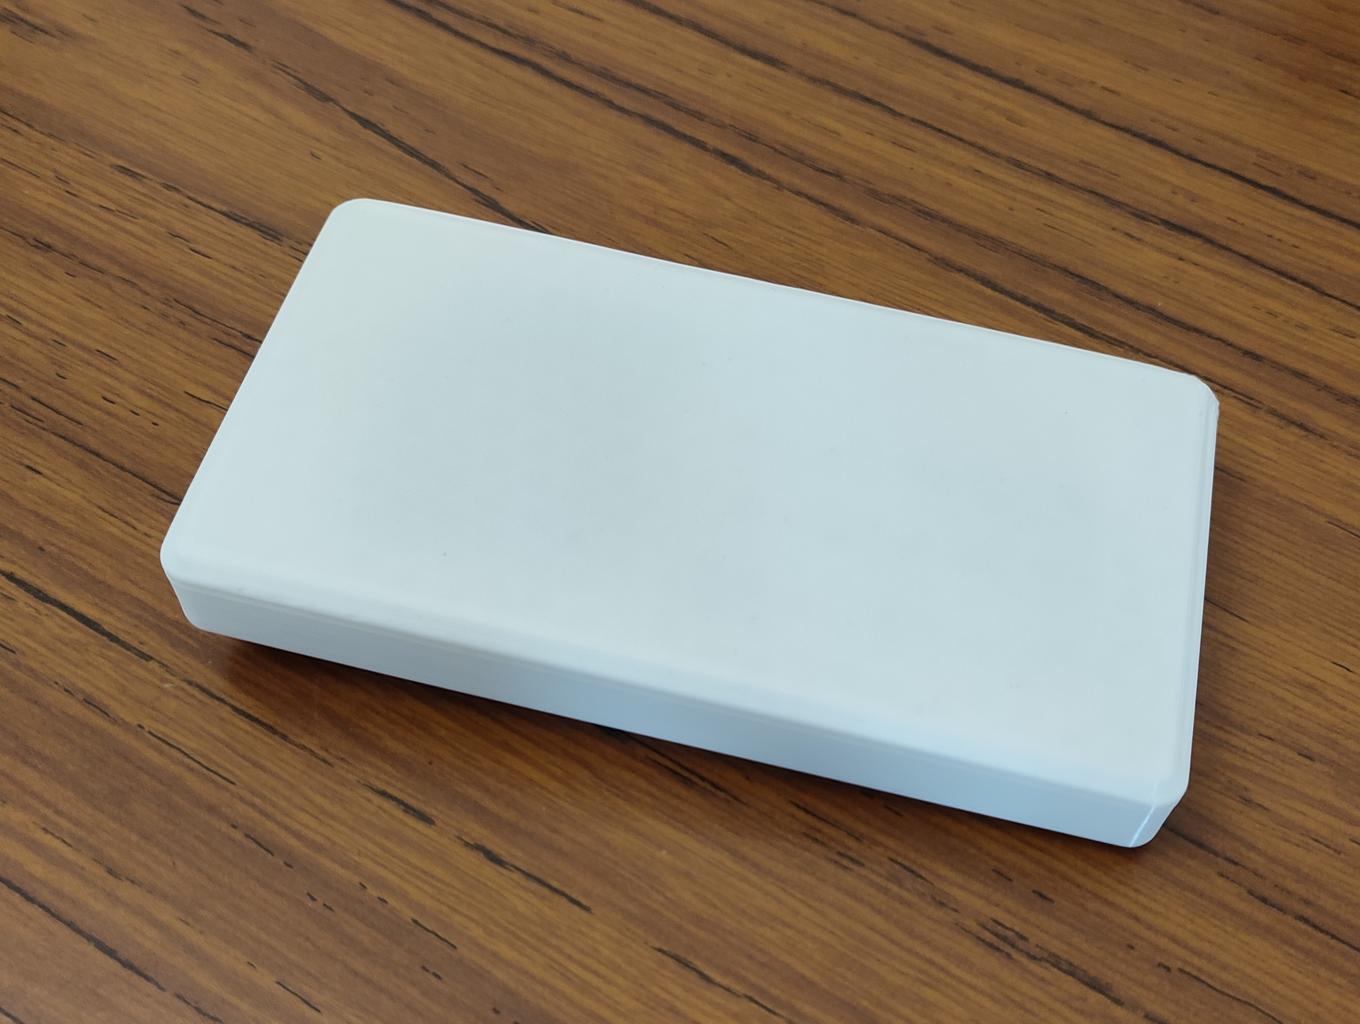
As well as displaying one’s wares to be successful at a craft fair, card readers are a must these days - most people want to pay by card. I chose a standalone card reader with its own keypad, because I didn’t want to have to rely on my (unreliable) phone for transactions - but I didn’t want buttons getting pressed by accident when it was in my bumbag between sales. So we printed it a little cover (a bit like my 1990’s school calculator) to protect the keypad. Simple and effective!
I wonder what we’ll need to print next!
